Project 510: RB20DET gearbox
I was standing in the garage today, looking at my car with a bunch of the engine bay torn apart, planning in my head how I was going to document the activities in my next post. Then it struck me, I still hadn’t posted about the last thing I did; retrofitting an RB20DET gearbox to the FJ20. The FJ20 uses a 5-speed gearbox which has one niggling problem, they have a tendency to crunch when changing gears in higher rpm. Apart from that, there was nothing wrong with it, no whining noises, never hard to find a gear, never popped out of gear, but that didn’t stop me from upgrading when I learnt that the RB20 gearbox bolts up with minimal mods…
Even though I’ve described the modifications as minimal, it’s still far beyond what I’m capable of doing at home, so I enlisted the help of my mechanics. Excuse the camera phone images, I didn’t have my camera with me for this.
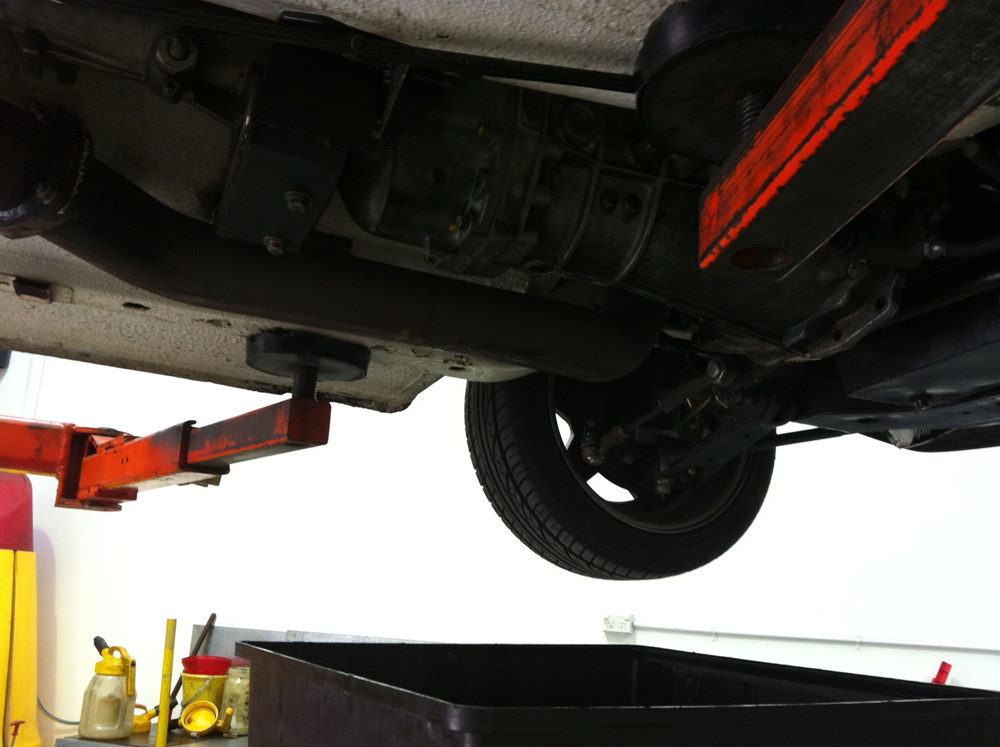
Up on the hoist, draining the oil from the standard box. My mechanics allowed me to spend a Saturday removing everything using their tools and facilities. Sadly I couldn’t be there to assist with the modifications and re-fitting, as it was done during the week while I was at work.

Gearbox, tailshaft, and exhaust removed.

A very important part of the swap is making sure that the two locating dowels on the engine correspond to the gearbox, as they keep both items aligned with each other. This is the lower one and it lines up without modification. As you can see, the clutch and flywheel have also been removed, the reason will be explained soon.

This is the upper dowel and it does not line up.

This is why we removed the clutch and flywheel, so we could get to the engine plate.

When researching the swap, I learnt that the top two bolt holes do not line up, and neither does the upper dowel. By bolting the engine plate to the RB20 gearbox using all of the lower bolt holes (which do line up) it acts as a stencil and shows us to see exactly how much to modify these 3 holes.

Mid-way during modification. The two bolt holes can be slotted, but seeing as the dowel hole is so important to get aligned correctly it was TIG’d up and re-drilled in the exact required location.

RB on the left, and FJ on the right. Naturally an RB25 gearbox would have been stronger, but they are also larger which equals tunnel massaging. An RB20 box is more than enough for my application and driving style, I have a lot of mechanical sympathy and don’t thrash my cars. Notice how nice and clean the RB box is? If you’ve already ‘liked’ the Build Threads Facebook page you would have seen me post a picture when I degreased it (that isn’t exactly a glowing advertisement, I promise I post more interesting stuff than clean gearboxes haha).

Pile-o-parts

Sucks to roll hard? It certainly does. That right there is the calling card of many speedhumps around Victoria.

Almost everything bolted back up. The crossmember had to be modified a bit more than I anticipated. I had read numerous times that the gearbox-to-crossmember mounting points were only 25mm away from the original, however it proved to be a bit more than that. The crossmember bolted to the floor using the existing holes.

The tailshaft originally had a dust cover, since the FJ box didn’t have one. But as the RB box has it’s own cover, one of them had to go, so we trimmed the cover off the tailshaft.

Now that I had a more modern gearbox, I had my pick from a large range of gearknobs. I settled on this white no-nonsense nylon item, but had to use a cheap generic one for a couple of weeks while I waited for it to be delivered. Once fitted, the difference was night and day, definitely the icing on the cake.
I’m very happy with the swap, I can make full use of the gears now and change smoothly at higher revs, the car is much more fun and easier to drive. The new gearbox makes a fair bit more noise than my original one which is a bit disappointing, but that’s the risk you take when buying something with moving parts that you can’t test first. Next on my list is to buy new bushes for the shifter and maybe replace the rubber in the mount.
So to conclude, here is a wrap-up of what was and wasn’t required to complete the swap.
Slot top two bolt holes, fill and re-drill top dowel hole.
Modify crossmember where it bolts to the gearbox.
Remove/cut dust cover from tailshaft.
Tailshaft did not have to be shortened or lengthened.
Speedometer drive did not have to be modified.
Existing clutch and flywheel were able to be re-used.
Very light trimming of shifter hole in floor.
No body/tunnel modifications.
Original: Build Threads