
Project Honda City Turbo II – Bringing the engine home
It’s been a while since the last Honda City Turbo II update, so I thought I’d back track a little bit and show you some of the smaller jobs that happened in between the engine refresh. I wanted the last post to concentrate on the bulk of the engine work, so I chose to emit some of the smaller jobs in order to help it flow better. Now it’s time to go back and catch up on that information, and then pick up where we left off with the engine…
Part 1: Introduction
Part 2: Teardown
Part 3: Engine refresh
Words by Ryan Lewis
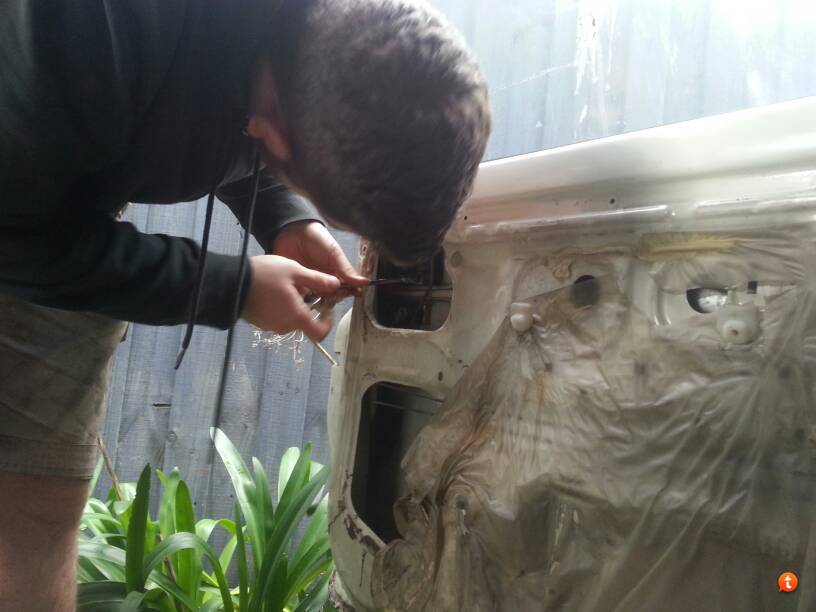
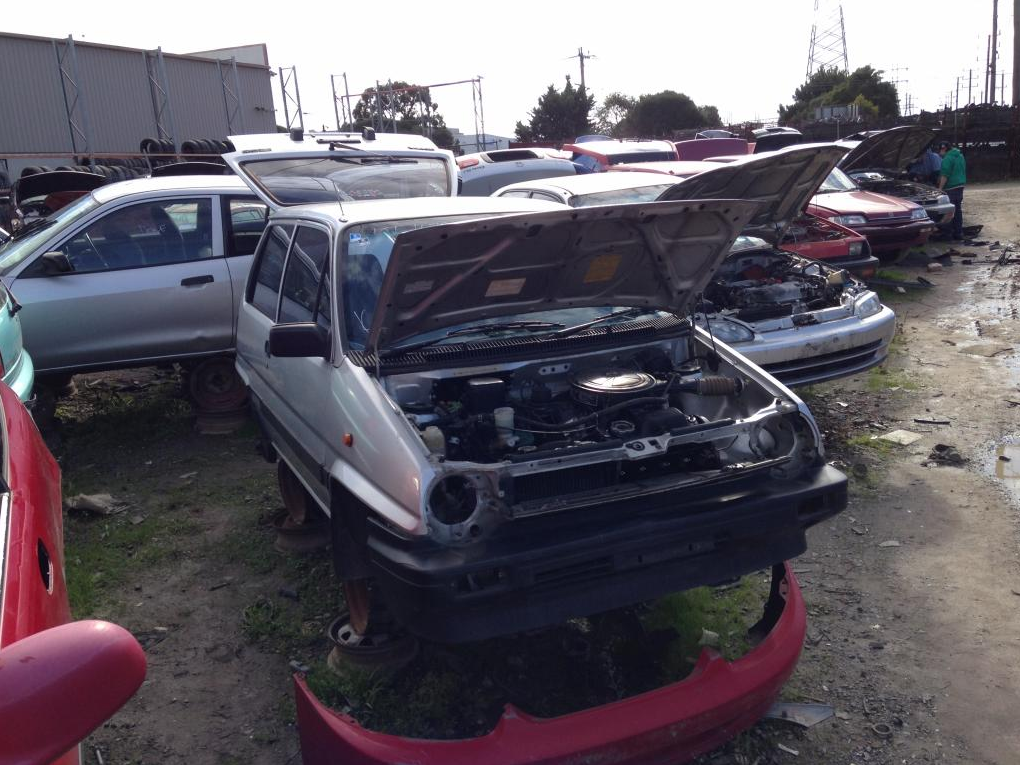
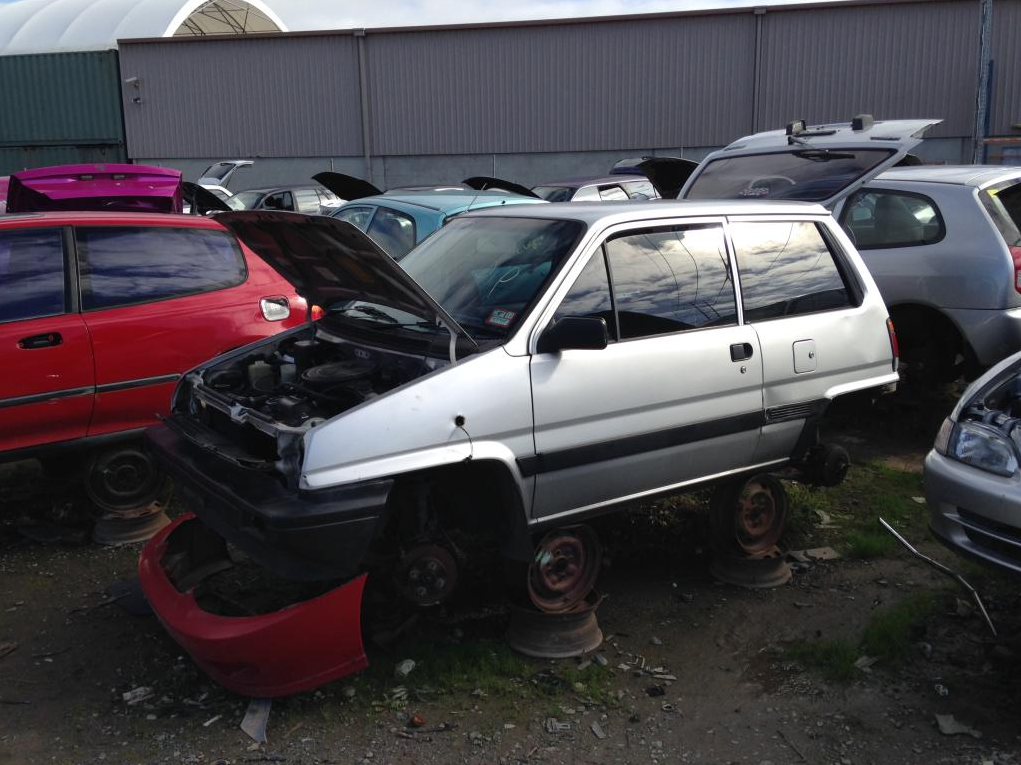
Next I went and pinched a bunch of parts off the white Honda City in the background of this photo. It’s about to be scrapped by the guy who owns the silver one but it has lots of stuff we can use. We really needed the handbrake cables, which I got, along with black interior bits and a few other spares.
We actually saw this silver car for sale on Gumtree a while before buying the one we’ve got now. Overall it’s quite clean but the paint job is very backyard spec. Cool car, though. Note the rare CF-48s with aero discs.
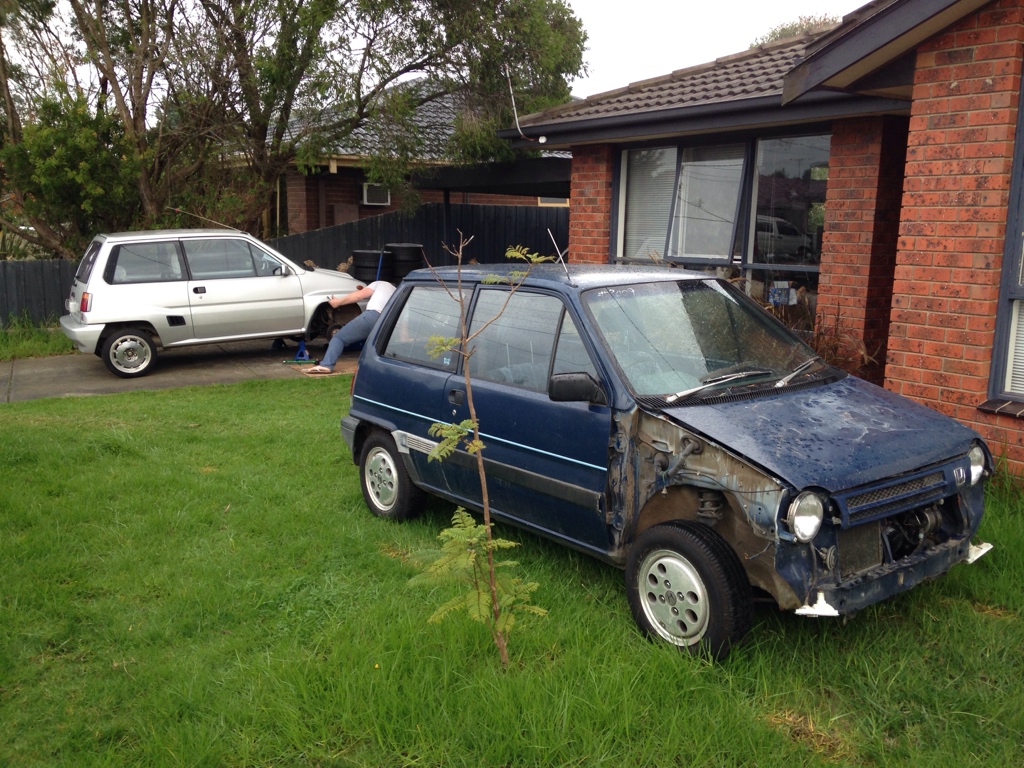
He’s got a third City being built up for Nugget Nationals down here. Those wheels on it are original Turbo II items off the silver car. There are more goodies to be had on the white car, so we’ll get back there before it goes to the wrecker next weekend.
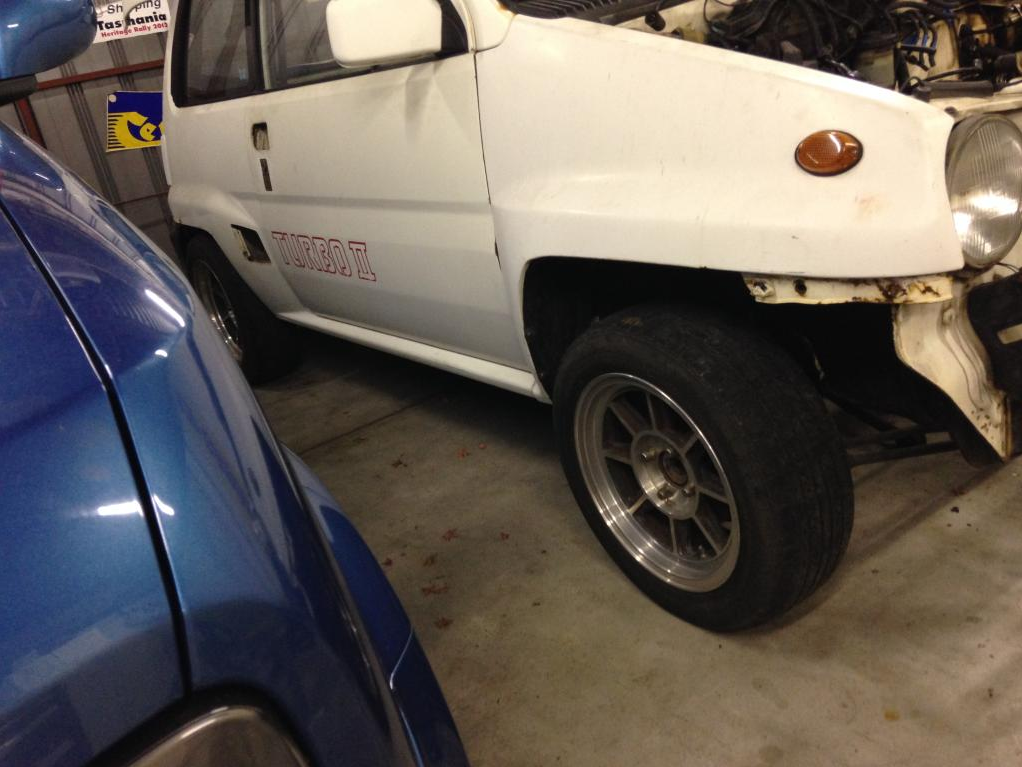
I did a quick test with the Streets. They’re 14×6+20 and 14×6+0. Kinda bummed they’re not all +20 offset, the +0 pair are just a little too aggressive on the back. I’m not giving up yet. There might be more negative camber to be had since it does feature IRS.
There’s more room if I flip them front to back but the faces are different. The +0 rears are a little bit concave whereas the fronts are flat. I feel like it’s weird to have them the wrong way around, although the race cars were set up that way.
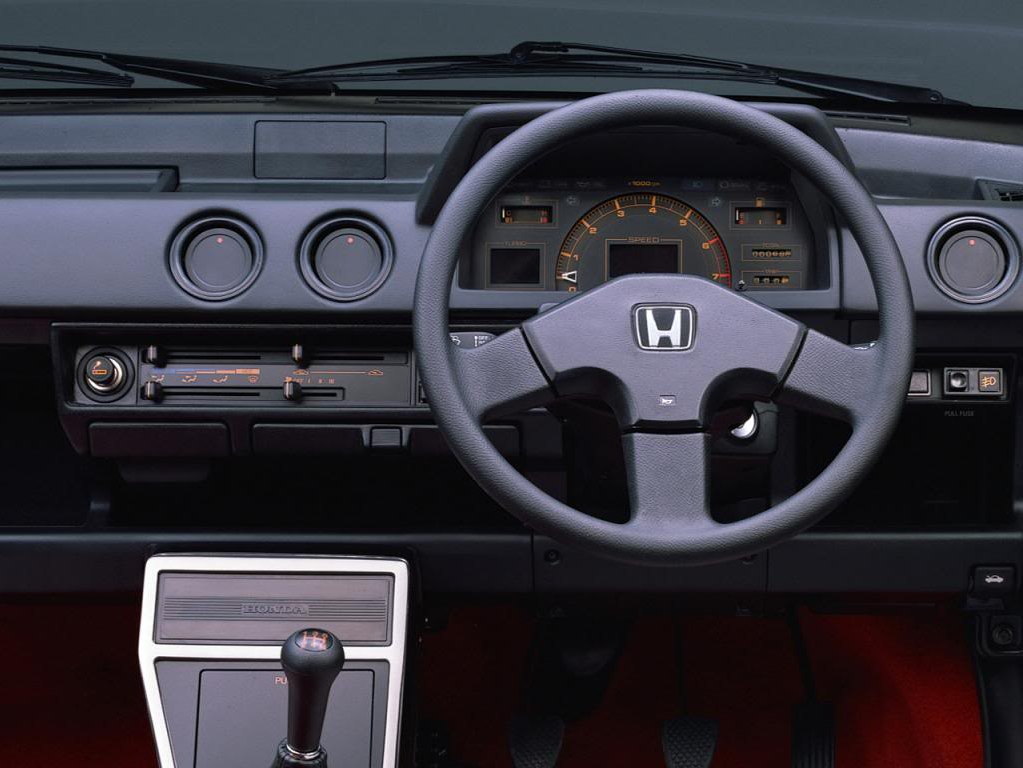
This is the interior I wish we had. Red carpet (before Type R was a thing), black plastics and that rad stereo blanking plate. Ours will be kinda like this albeit more stripped out, no carpet, etc. The interior that came in the car is totally shot so it’s all gotta go.
We’ve got some neat stuff to go in like a suspended single DIN unit that replaces the centre console and a rubber shift boot that works with no carpet. Should look cool.
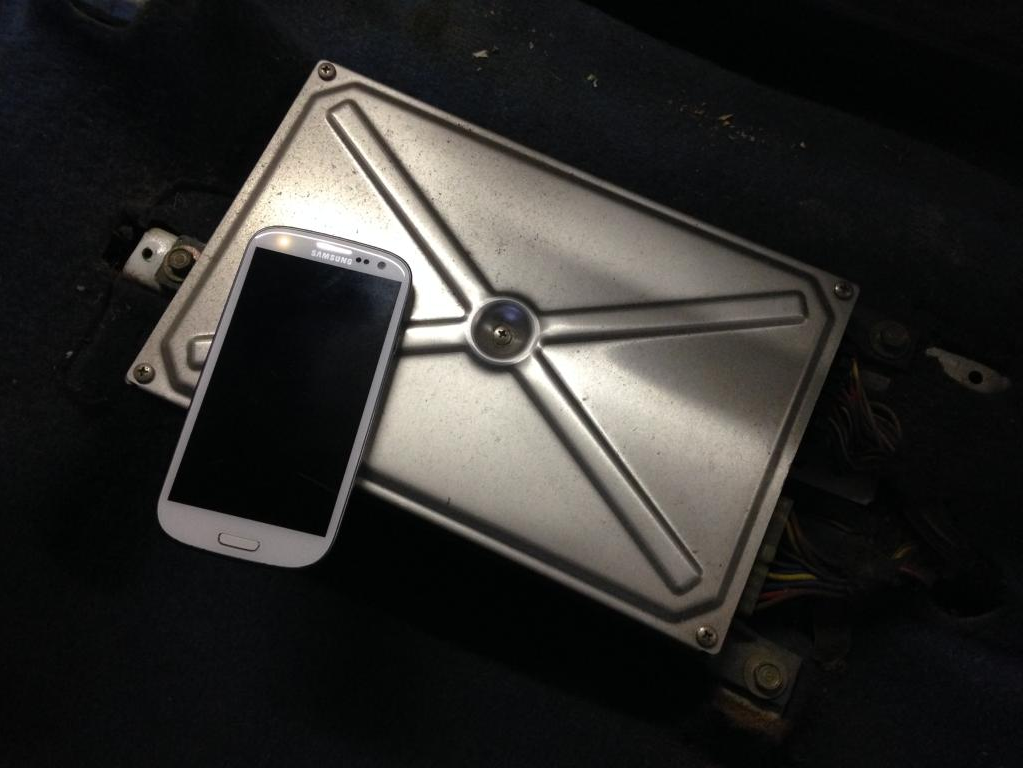
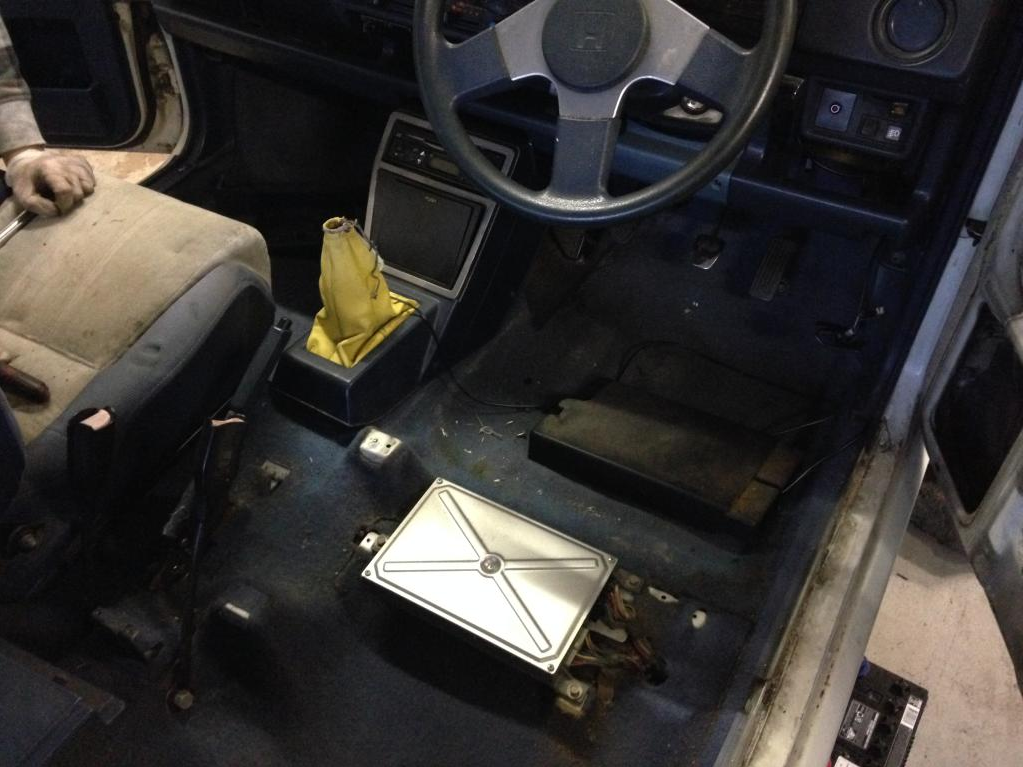
World’s largest ECU?
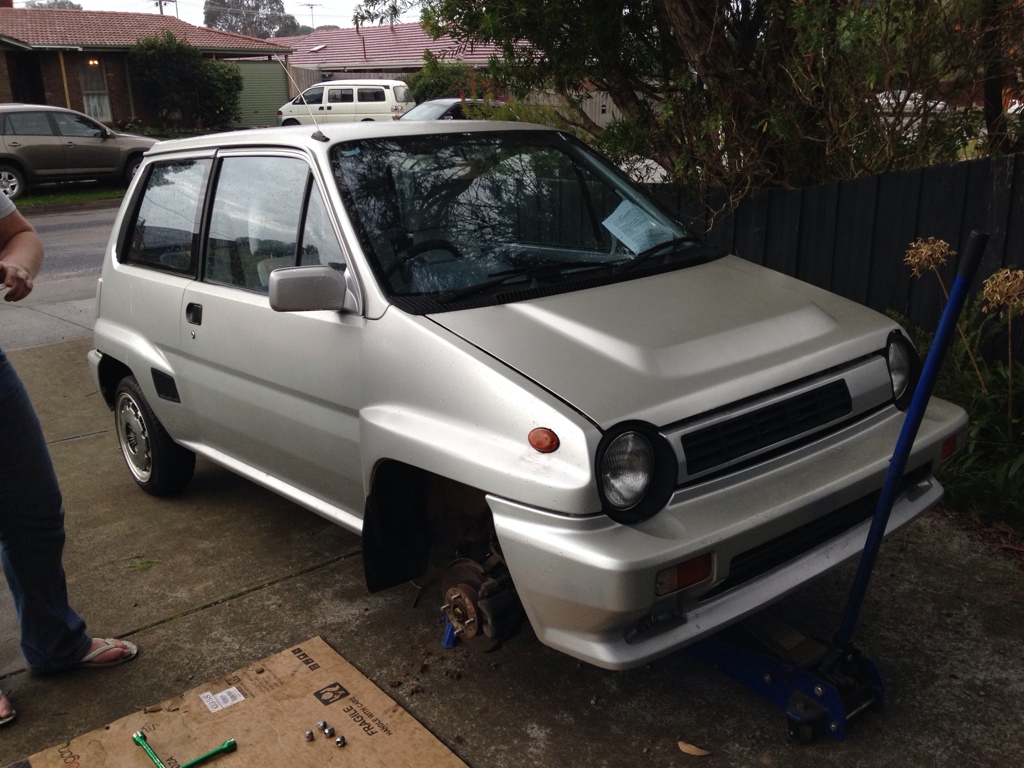
Race car. We used bits from the parts car to fix our broken handbrake and dropped the fuel tank to replace the pump. Getting there.
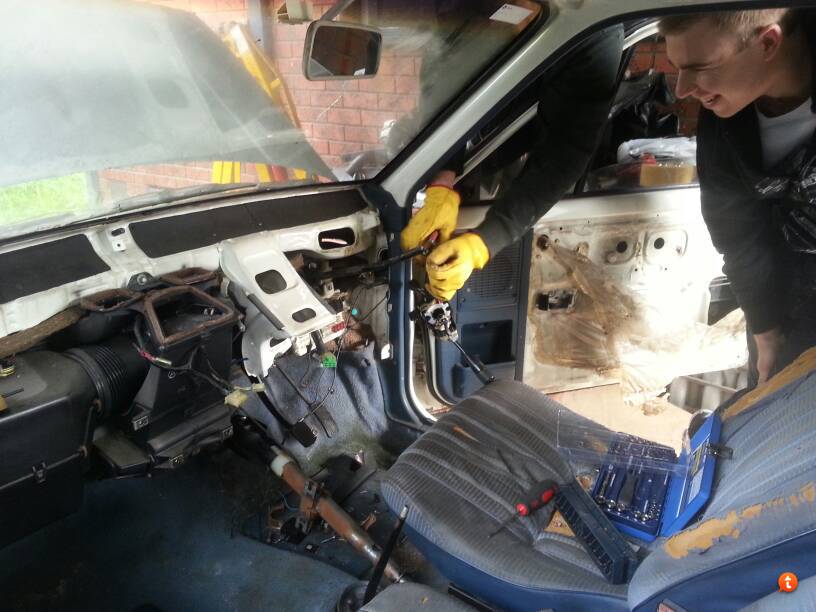
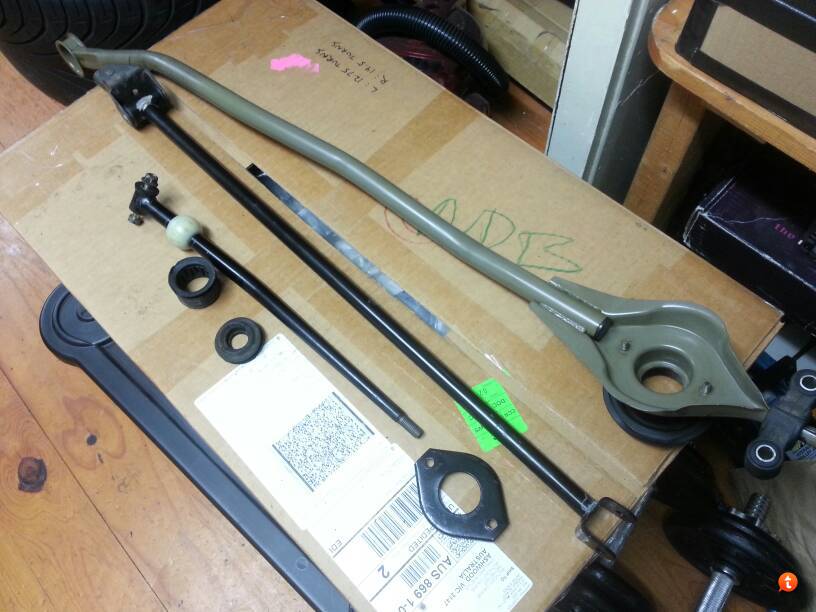
Realising how much of the parts car we could use, we went back for more pillaging. Things like a bonnet release cable, the dashboard, spark plug leads, passenger door handle, radiator and gear selector linkages.
The car’s cracked windscreen had been leaking water for a long time. It was pretty disgusting in there.
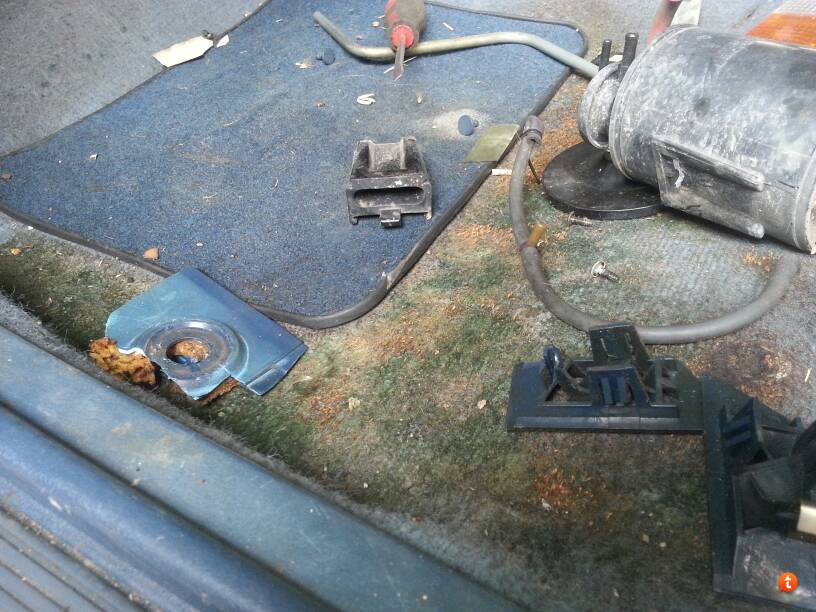
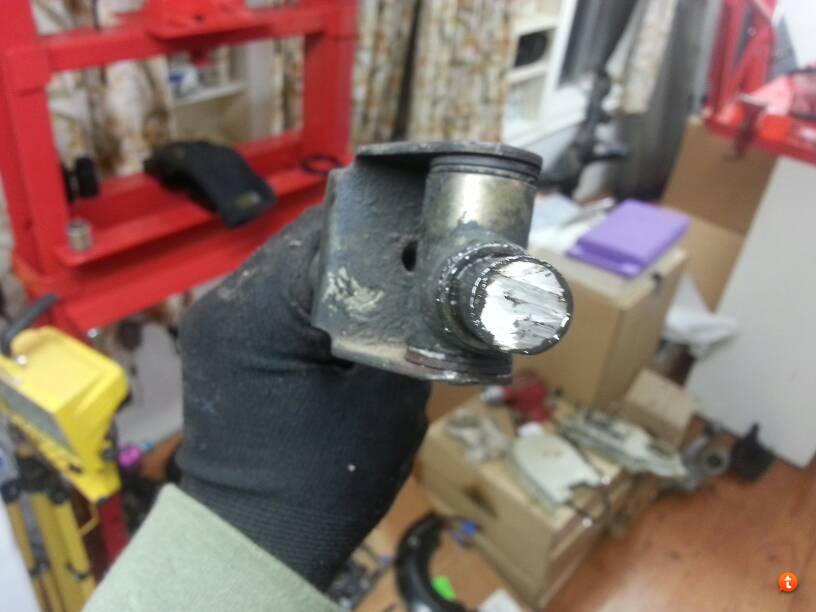
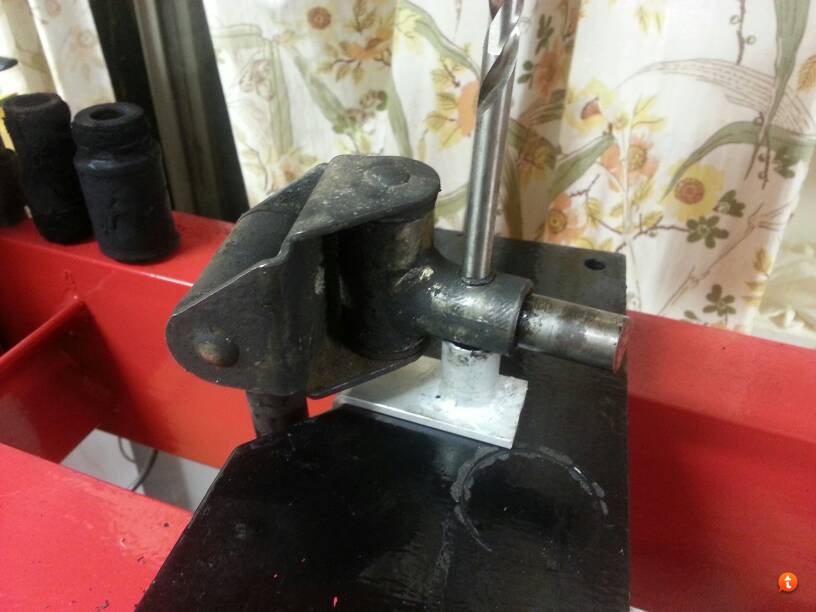
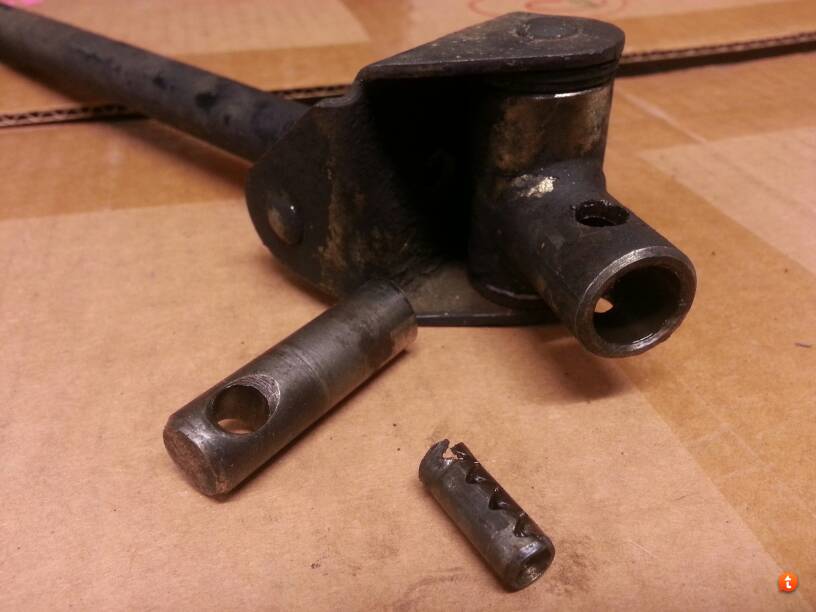
One thing we really needed was the gear selector link. Ours is badly bent but this one is dead straight. Unfortunately getting it off the car was a monumental pain. It attaches to the gearbox fork selector with a roll pin aka the bitch pin. This one was extremely resistant to being driven out with a punch and hammer, and ate through two drill bits without giving up.
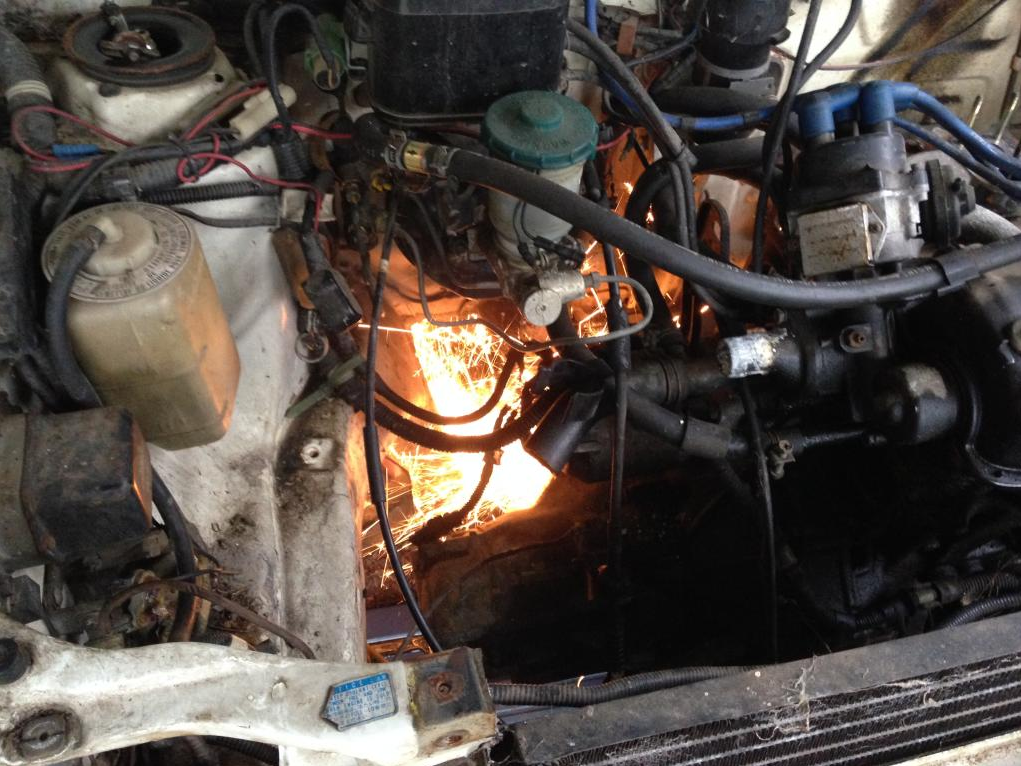
Solution: get an angle grinder and cut it off from the gearbox side.

Nice glasses.

Tony took the link home and used a hydraulic press to get the roll pin out. Great success.
We got a tip off that there was a mostly complete City in a wrecking yard not far away.
The interior was in really good condition, and the driver’s side door handle was perfect – a major bonus. We’ve been having trouble finding a handle that isn’t broken (weak design) so this was a win. We’ve got a pretty good collection black interior bits accumulating on the floor of my garage. Still need to find a pair of front seats we can use.
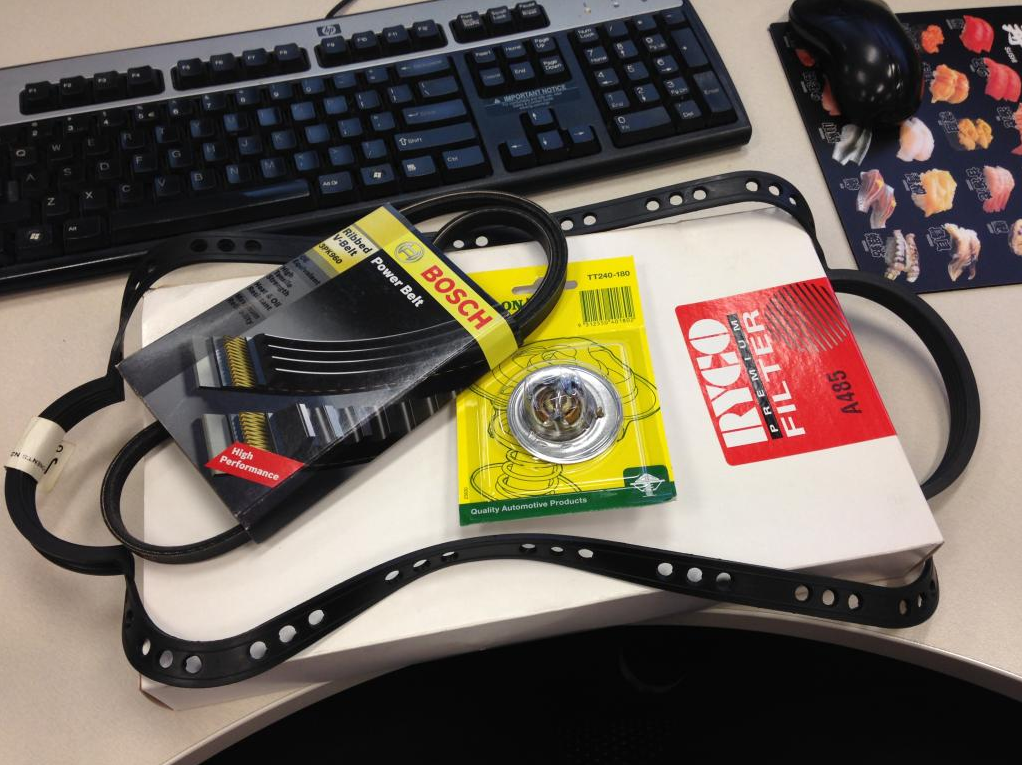
Overnight parts from New Zealand: air filter, thermostat, sump gasket and alternator belt.
The other bloke rebuilding this car with me is a stickler for cleanliness. He loves to make dirty things look clean again.
Here’s a before photo of …
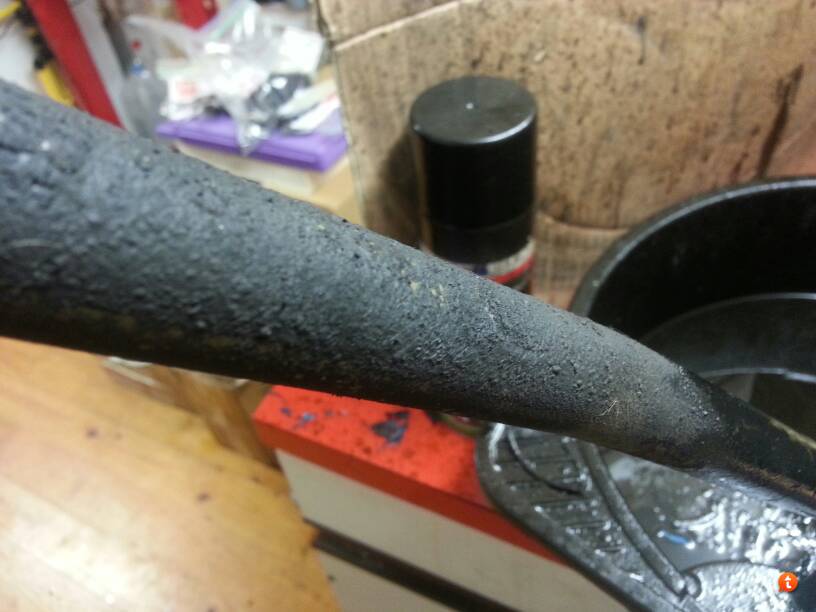
… the green bar on the right, which braces the shifter to the gearbox. Good as new.
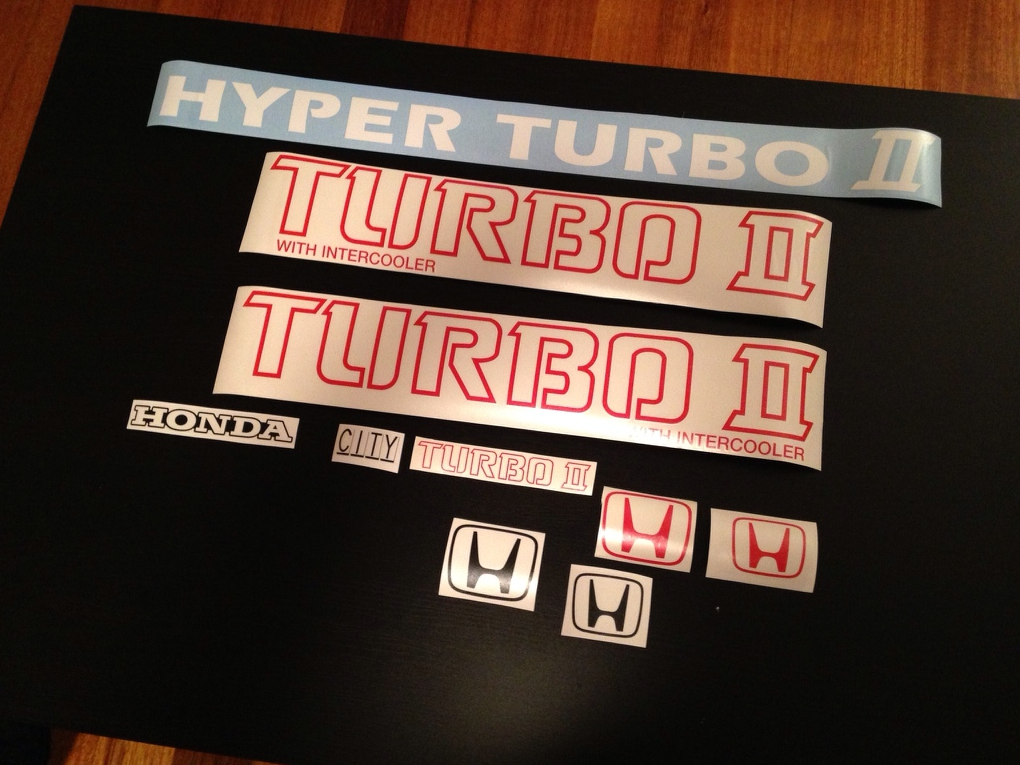
I had some brand new decals cut for the Turbo II. There’s an Aussie-based forum for these cars just called CityTurbo.com. It’s quiet, but the tech info in there is amazing. Someone even uploaded all these decals as EPS files so getting them made up was too easy.
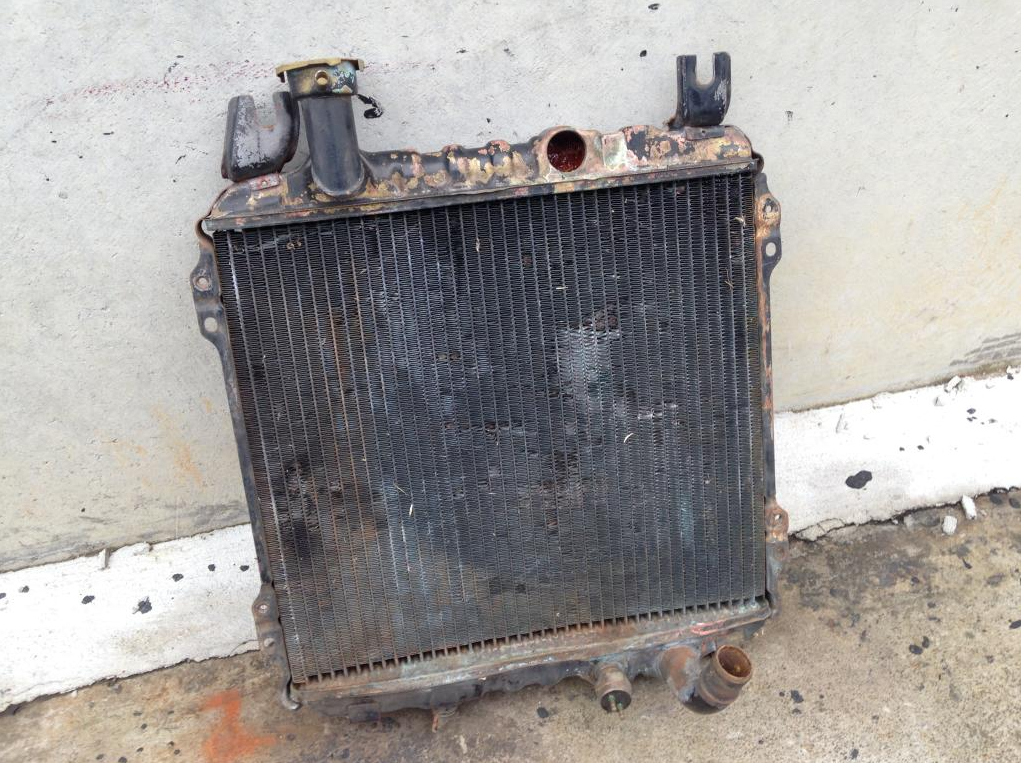
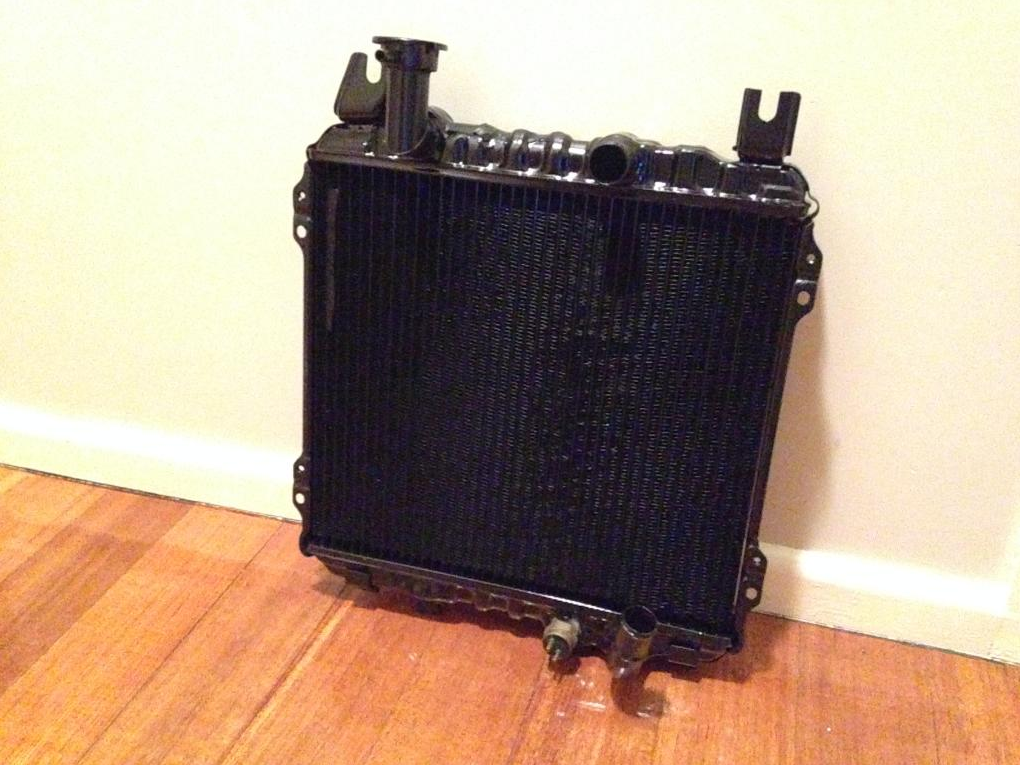
I took our radiator to Eastside Radiator Service earlier this week. It’s not in a good way.
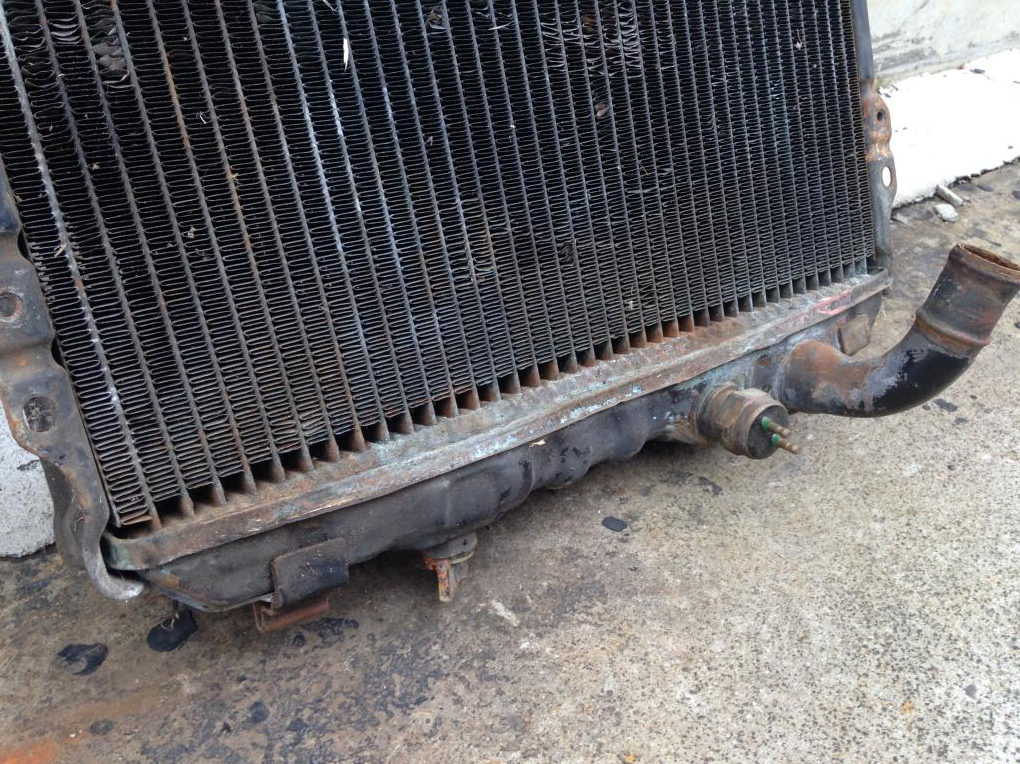
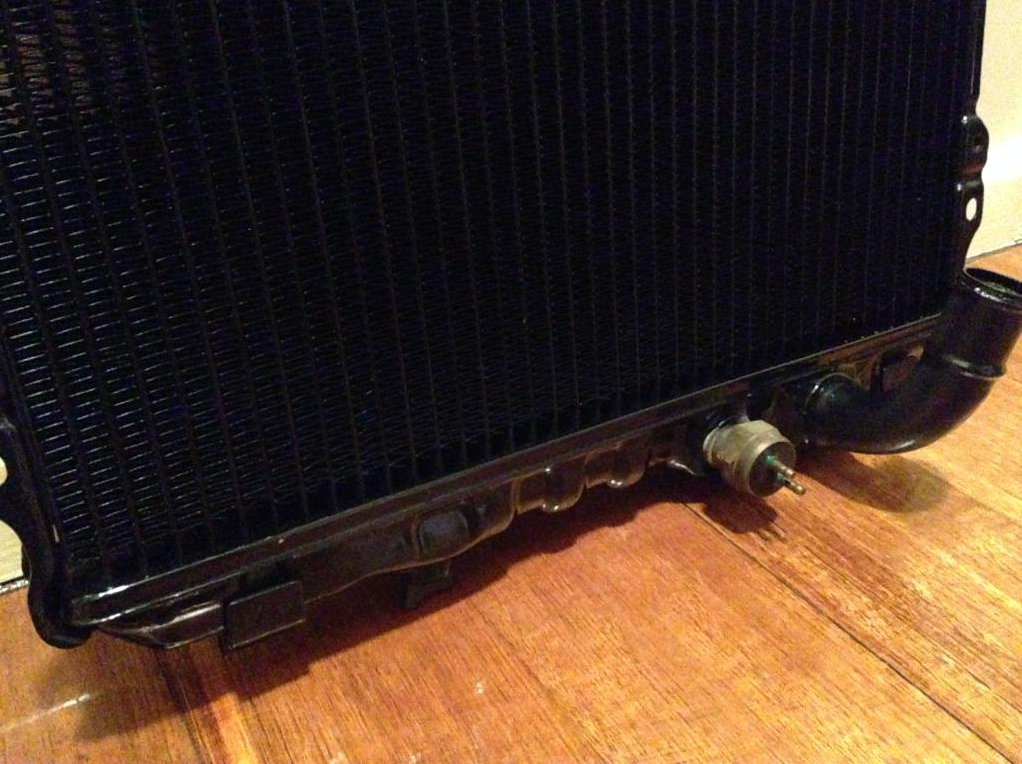
You can see here how ballooned the bottom end tank is. It should be flat where the core meets the tank (like it is on the far left) all the way along.

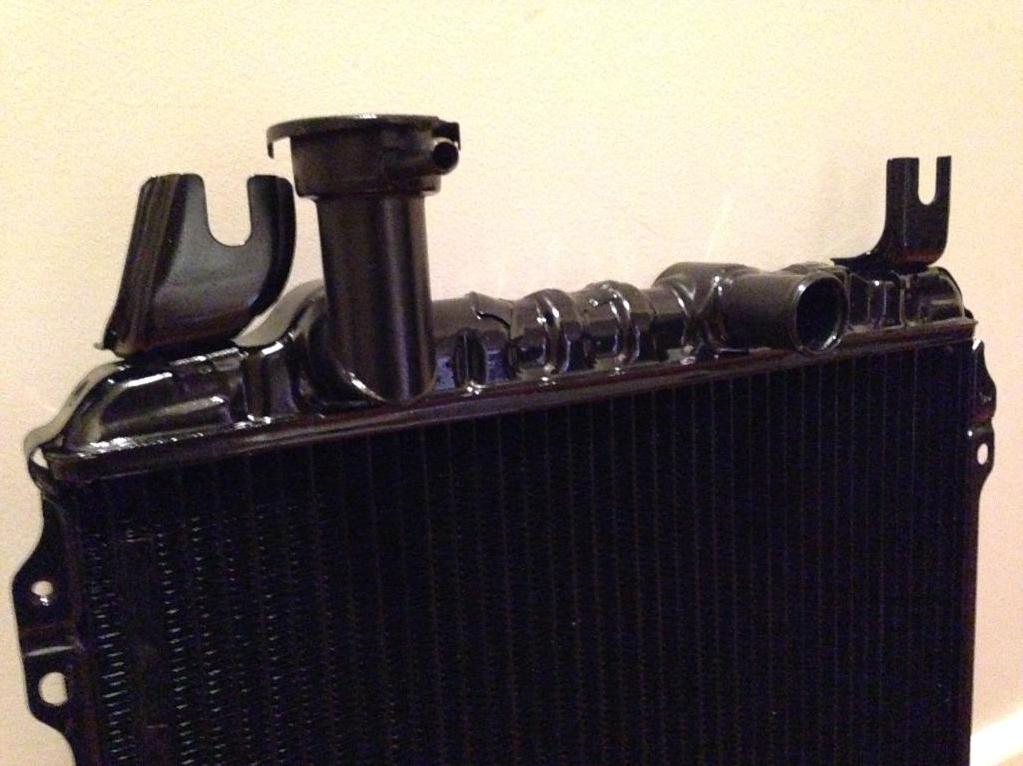
This is where our top hose outlet should be. The brazing failed long ago and the old outlet vanished. Conveniently, it affords us a close-up look at the state of the core’s innards! Ew.
We’re getting it rebuilt with a brand new core. The old end tanks can be re-shaped with heat and a new hose outlet fitted.
New sump gasket first.
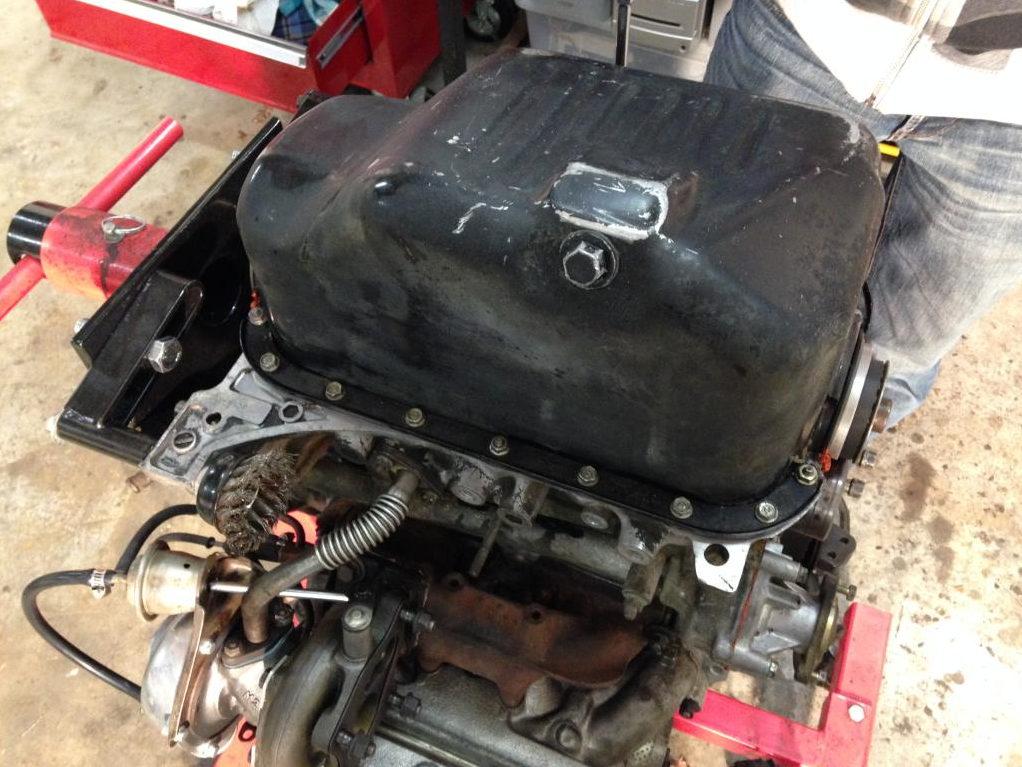
Sump cleaned up and torqued to the block.
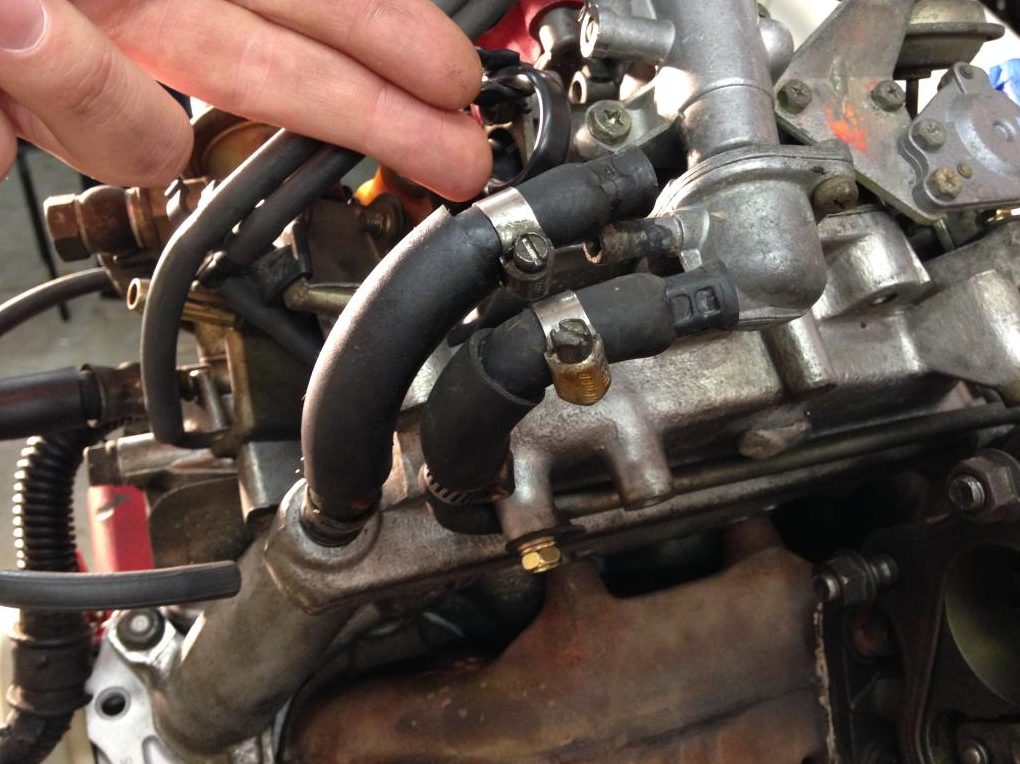
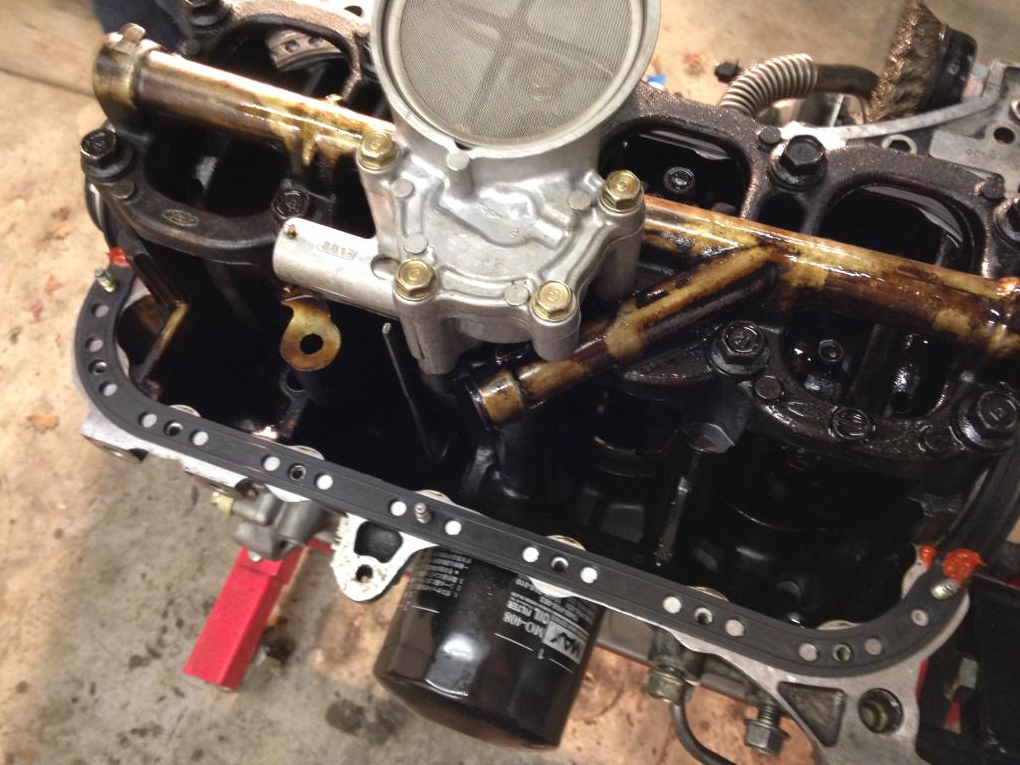
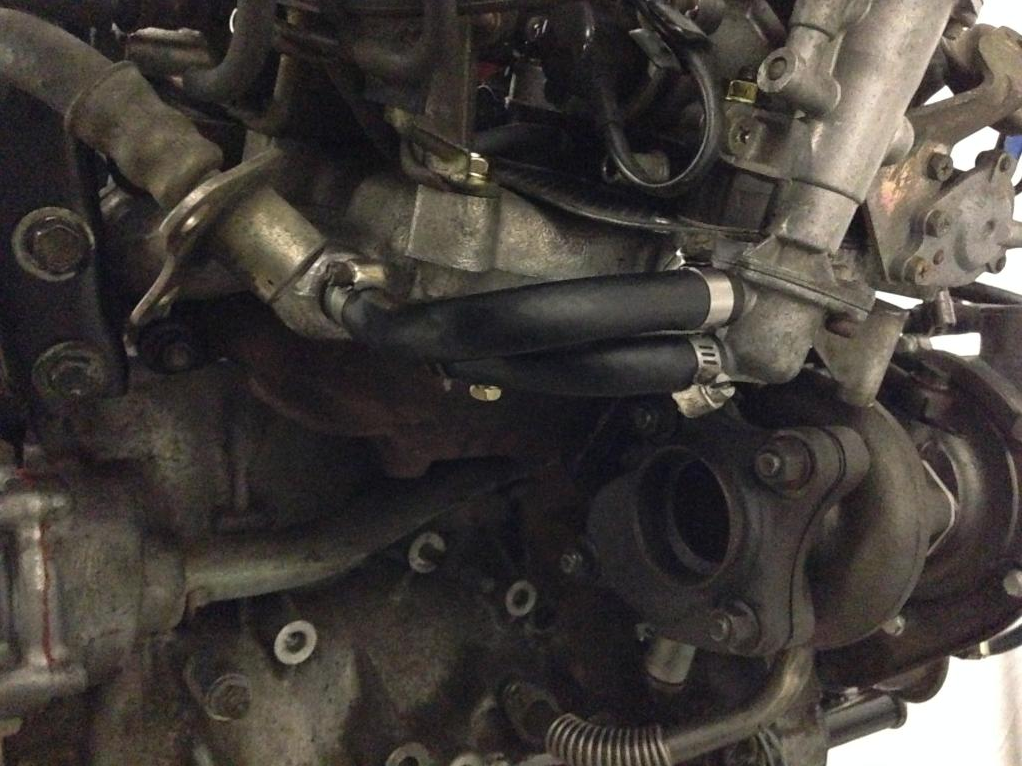
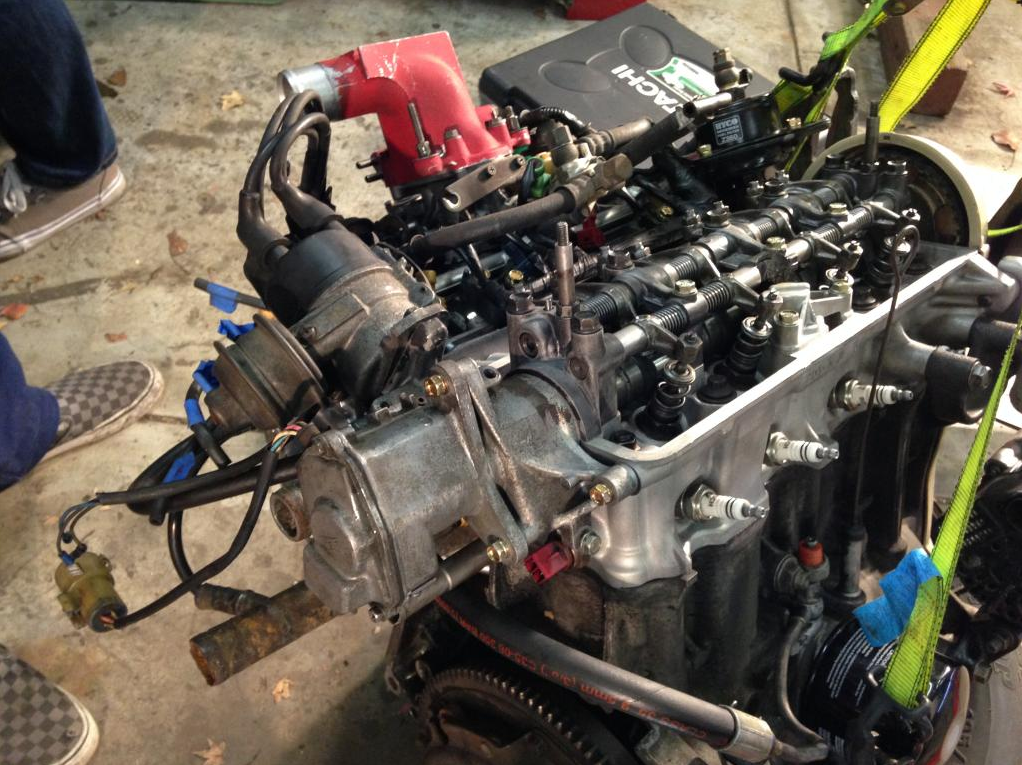
Went through and replaced a bunch of junk hoses.
We’re doing our best not to cut any corners while we’ve got access to all this stuff. You can see the exhaust flange on the back of the turbo needing to be joined to the rest of the system.
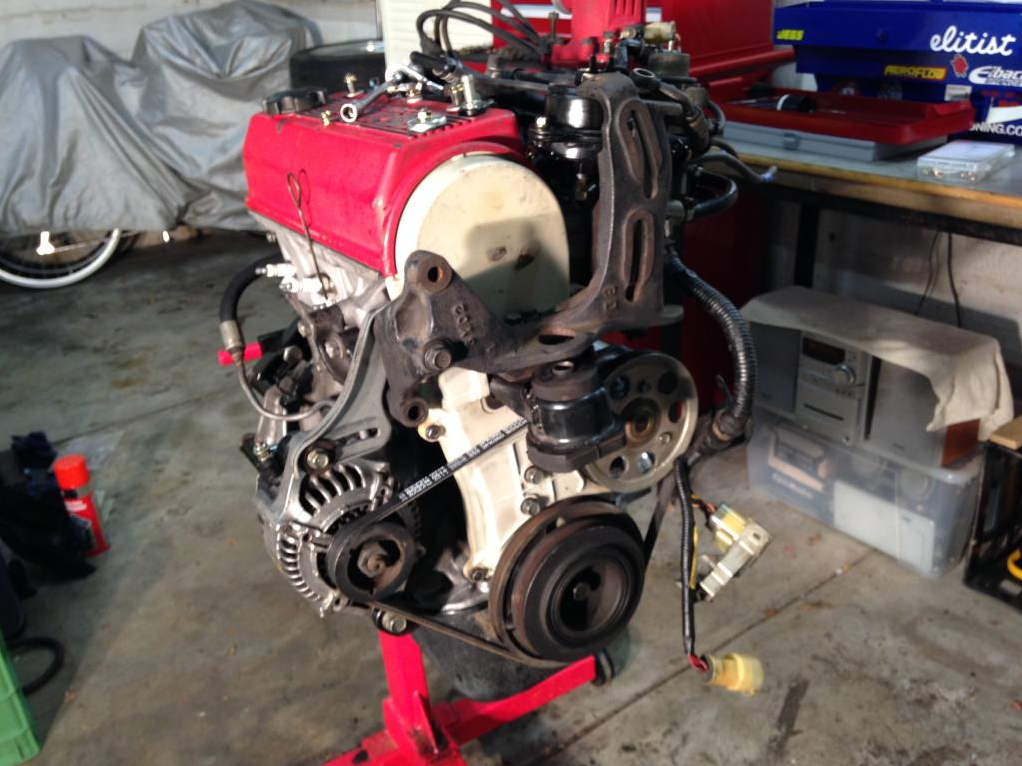
Engine mount, crank pulley, water pump pulley and alternator all fitted up with a new drive belt. The huge empty bracket is for an A/C compressor but our car didn’t come with one. We’ve pulled the rest of the A/C gear out anyway.
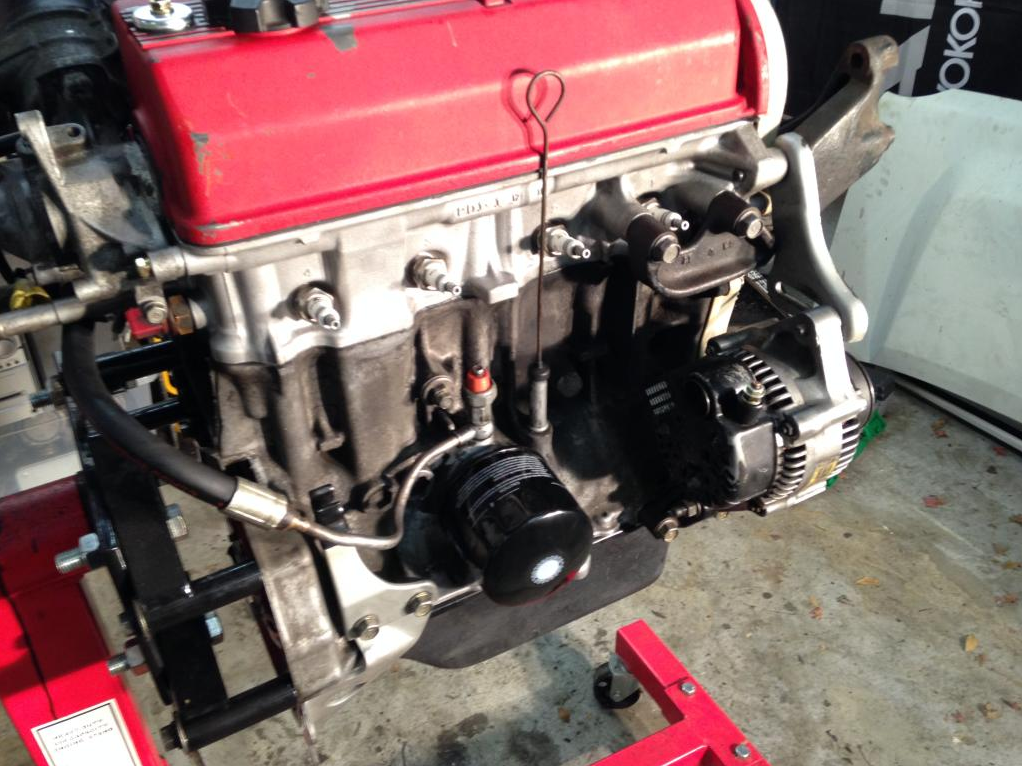
New oil filter ready to go.
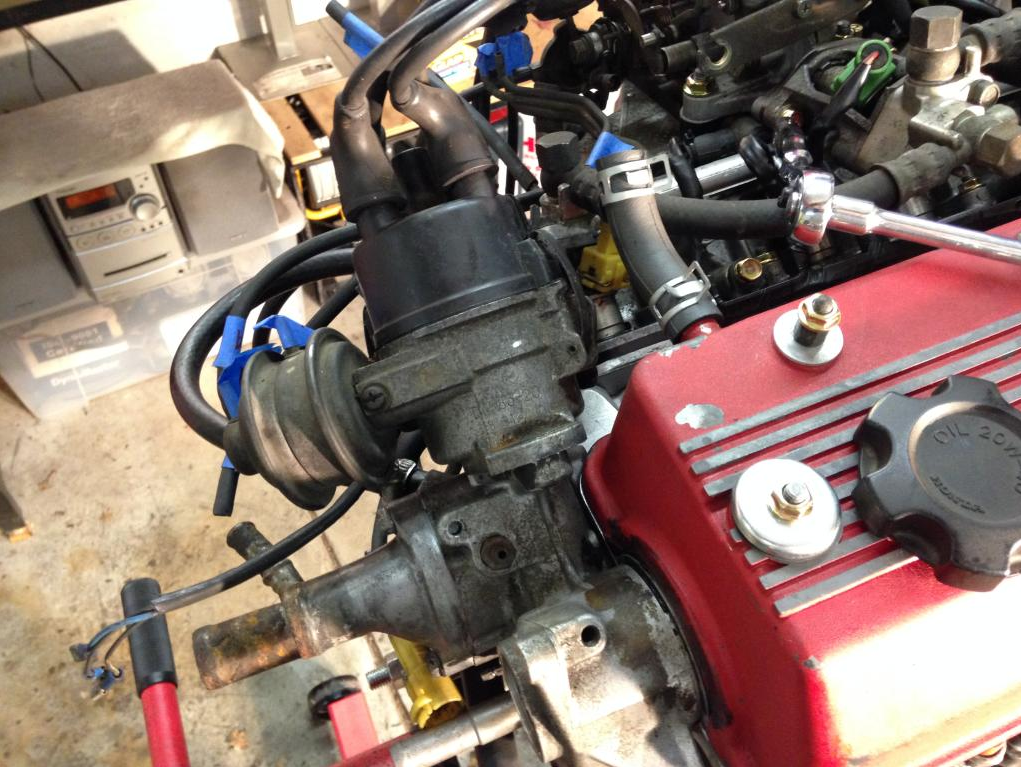
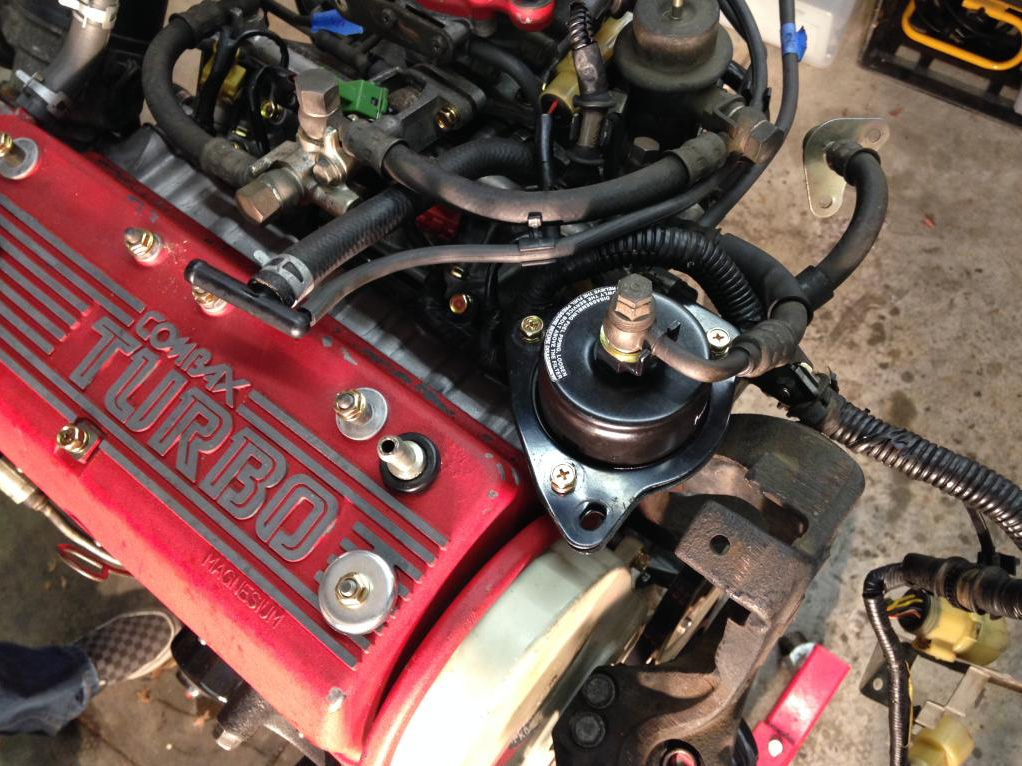
Distributor dropped into position but we’re yet to set ignition timing. We need to get the engine off the stand, drive in the rear main seal the rest of the way then fit the flywheel to use its timing marks for final dizzy installation.
We worked out how to fit the new fuel filter after looking at a few engine bay photos of other T2s. The bracket was one of the bits we found loose in the car when we got it.
Air box in situ. Unfortunately missing its cool OEM sticker on top. Same goes for our intercooler shroud which we’ll see in a future update. Gonna try and source the stickers somehow.
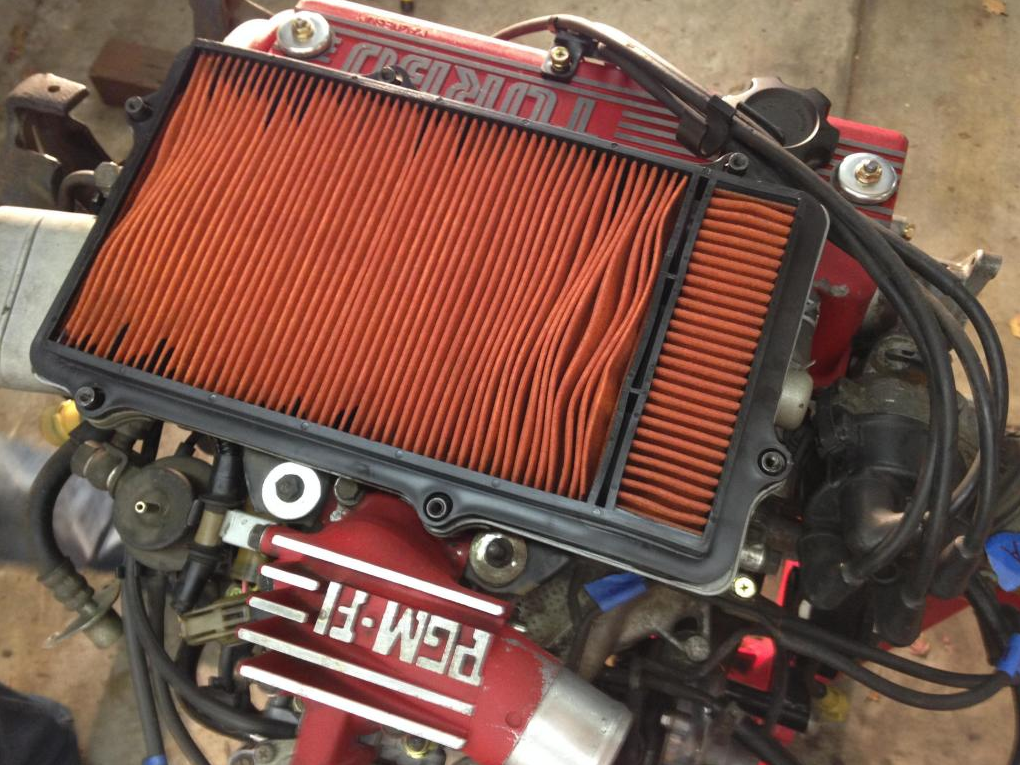
We managed to source one of these unusual filters from New Zealand. The previous owner was using a filter that only covered the larger section with a bit of thin alloy sheet glued to it to cover up the other section. Not the best idea.
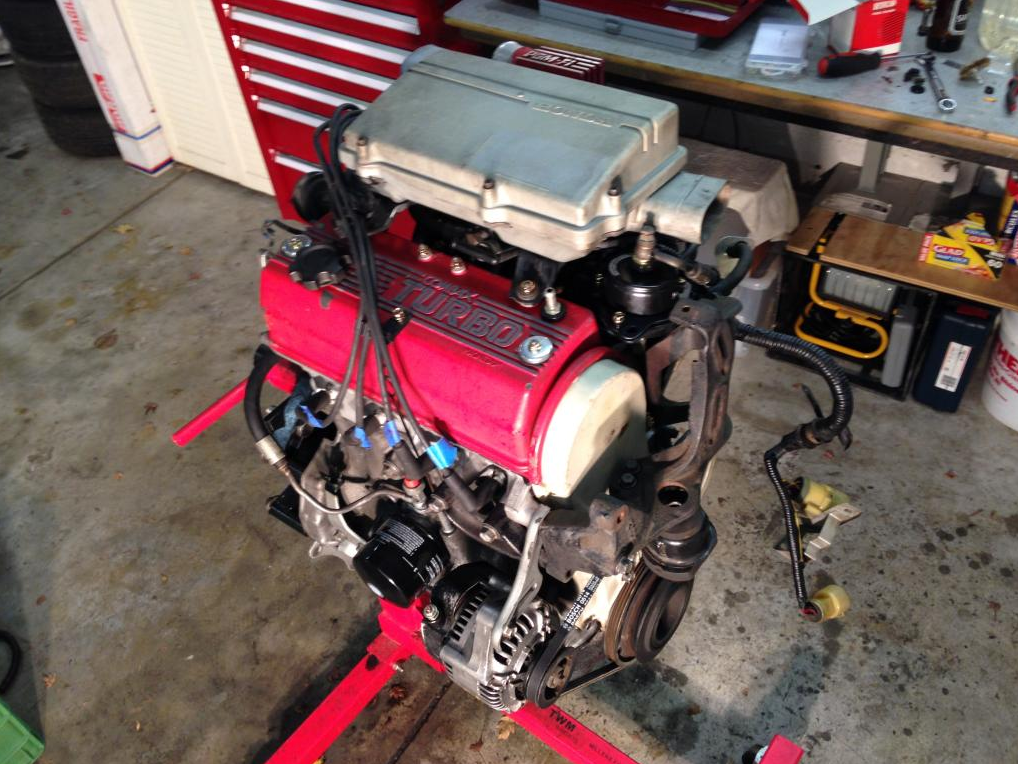
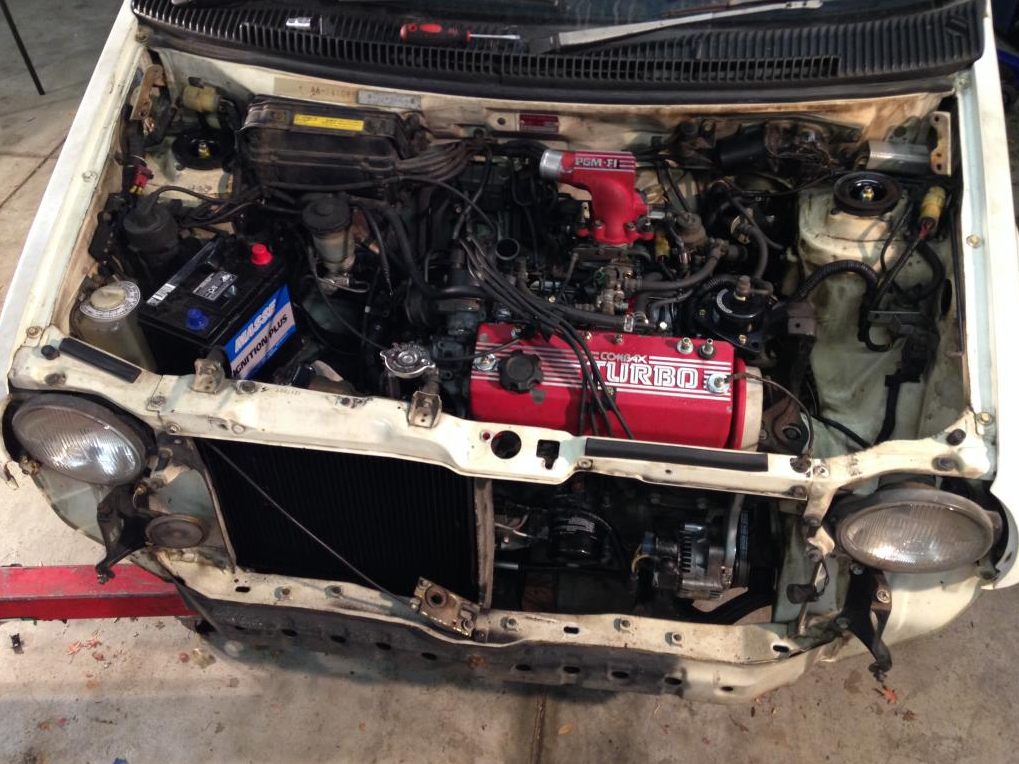
As it stands right now.
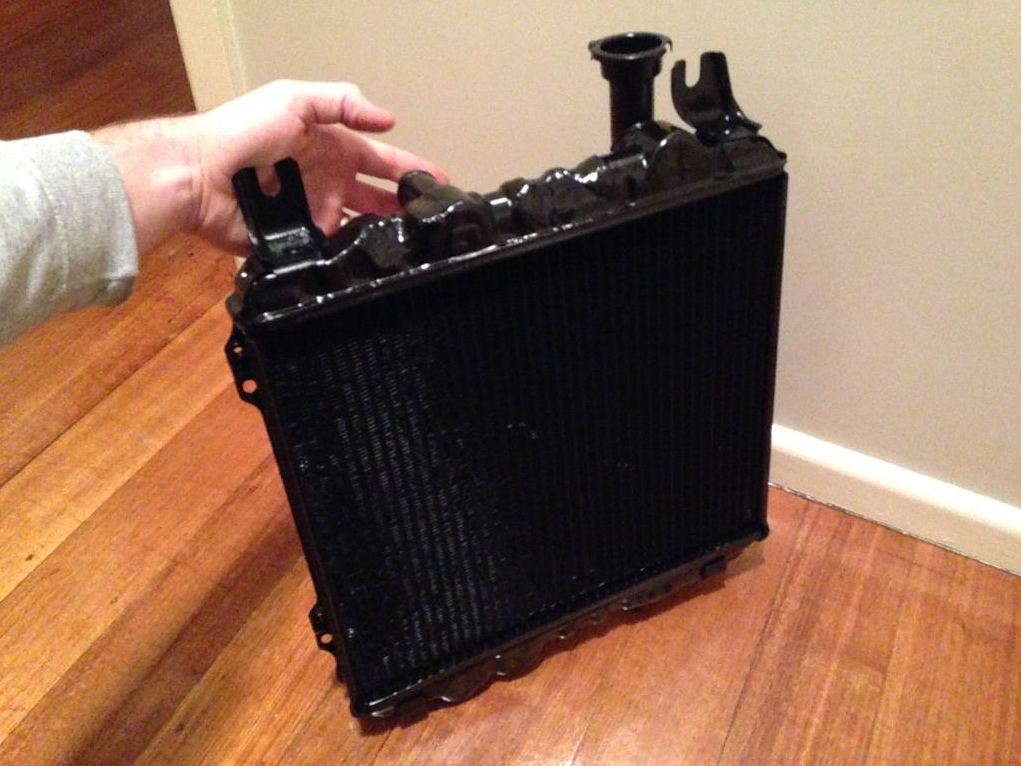
I picked up our reconditioned radiator today. Eastside Radiator Service in Glen Waverley did a brilliant job for a really reasonable price. Recommended if anyone else needs a similar job done. The core is brand new. It was the only one Adrad had available in in the right dimensions. I think it’s for a Suzuki of some sort.
Somewhat incredibly, our original end tanks were restored.
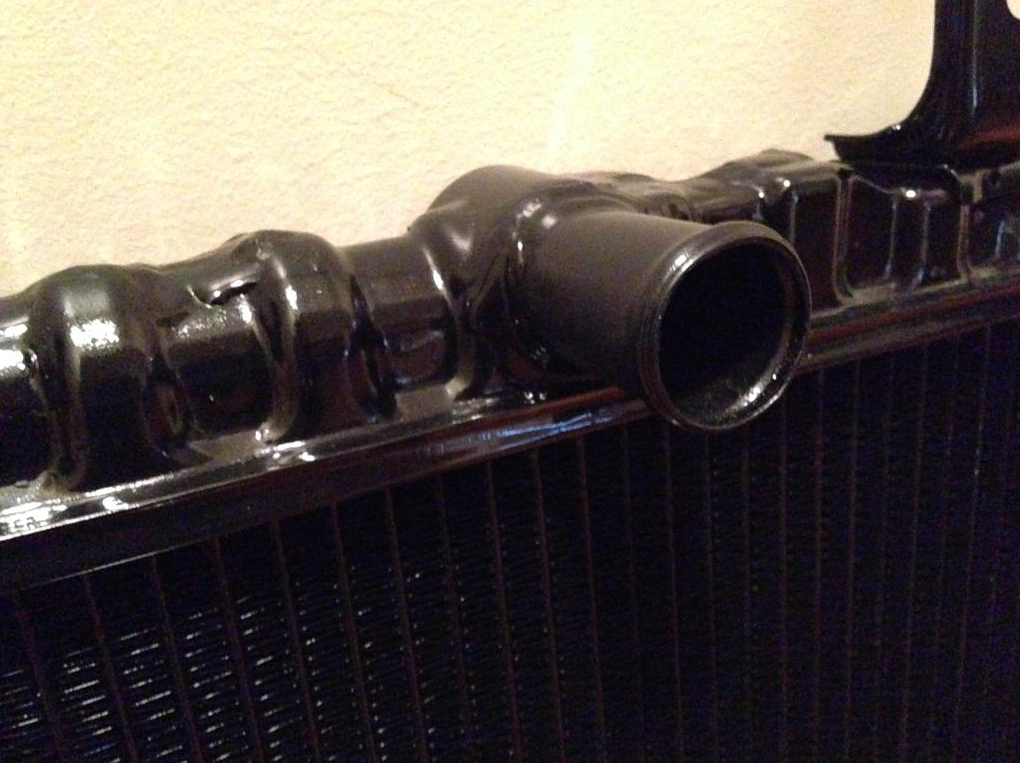
New hose outlet fitted to replace the missing one.
One more piece of the puzzle ticked off the list.
- – - – - -
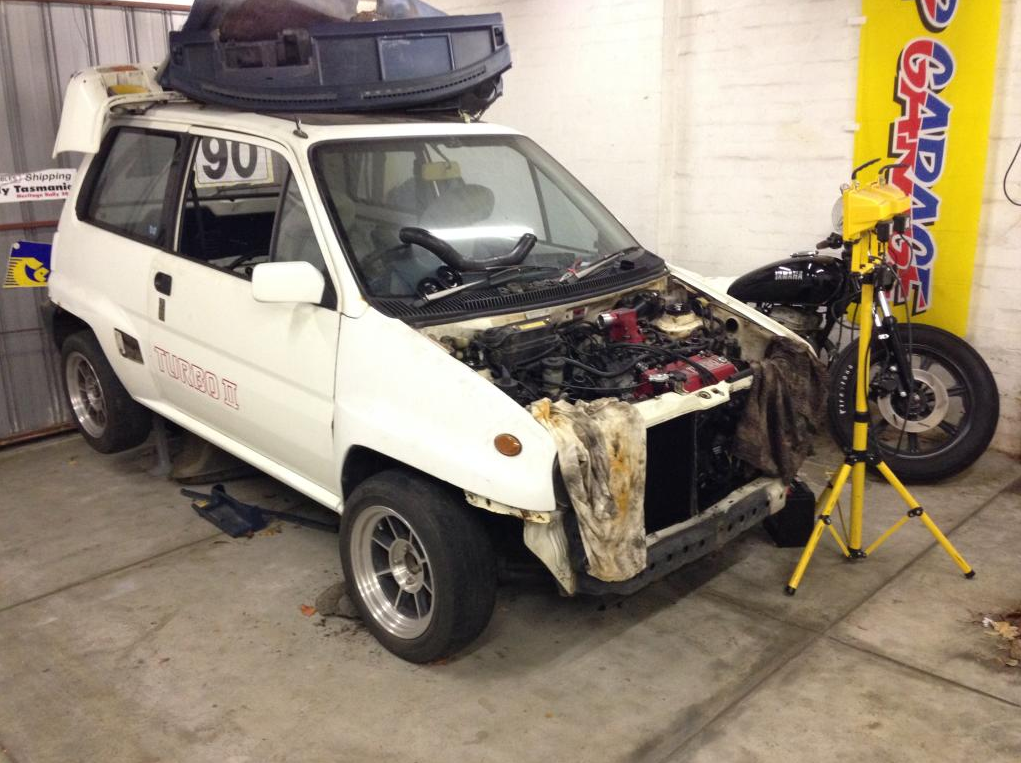
We made significant progress this weekend. I forgot to take photos of some things, but most of it is in the video complete with Initial D eurobeat.
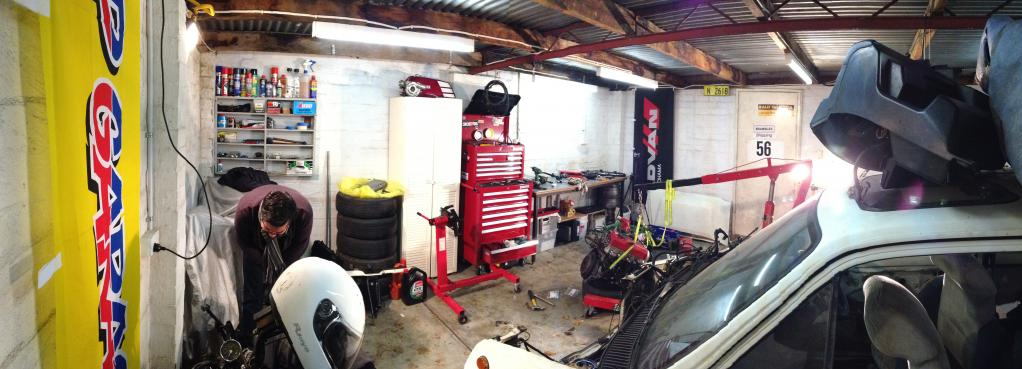
Rigged up some stadium lighting to keep warm in the garage. So damn cold in Melbourne at the moment.

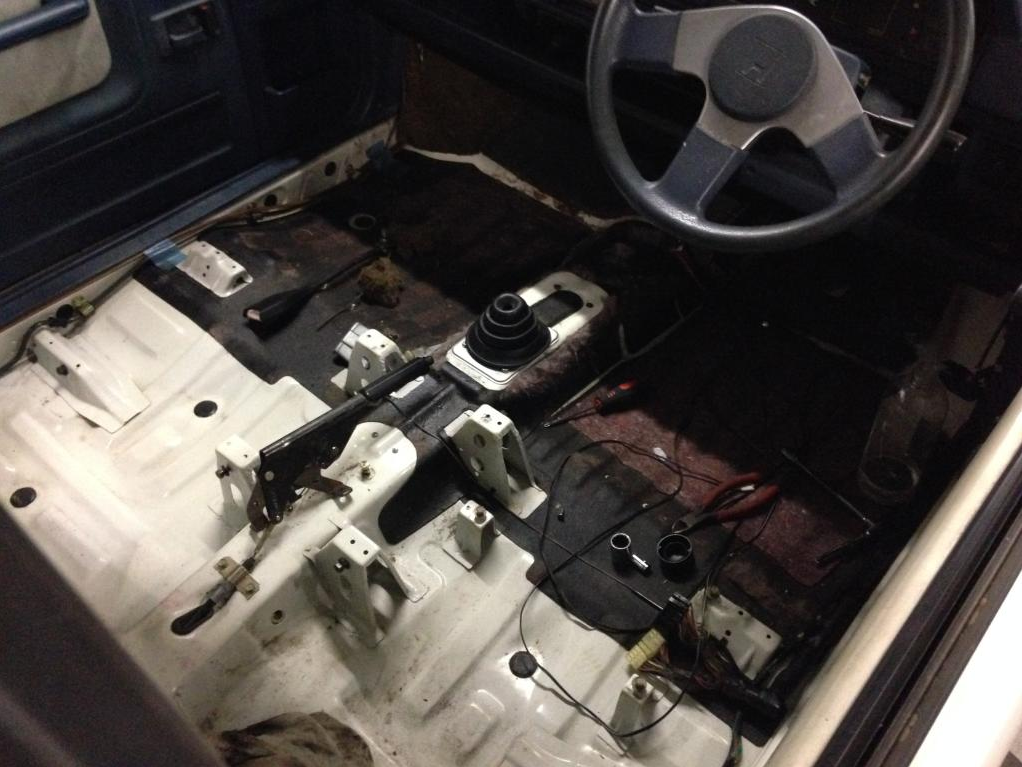
Dropped the engine off its stand to sort out the gearbox end of things.
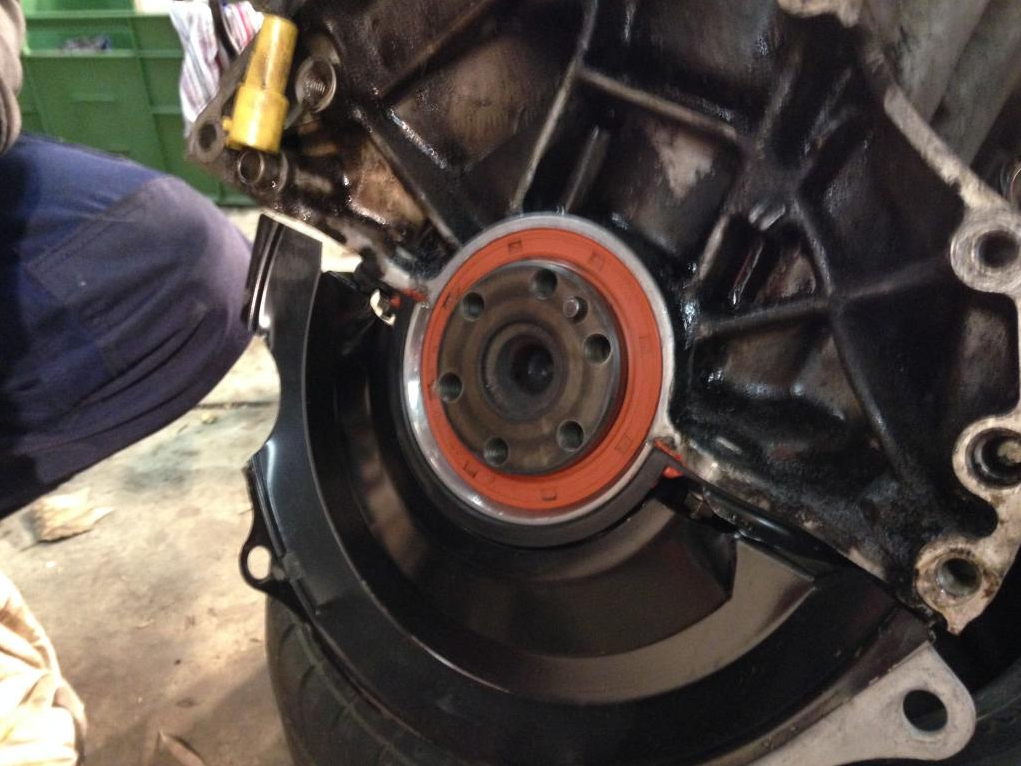
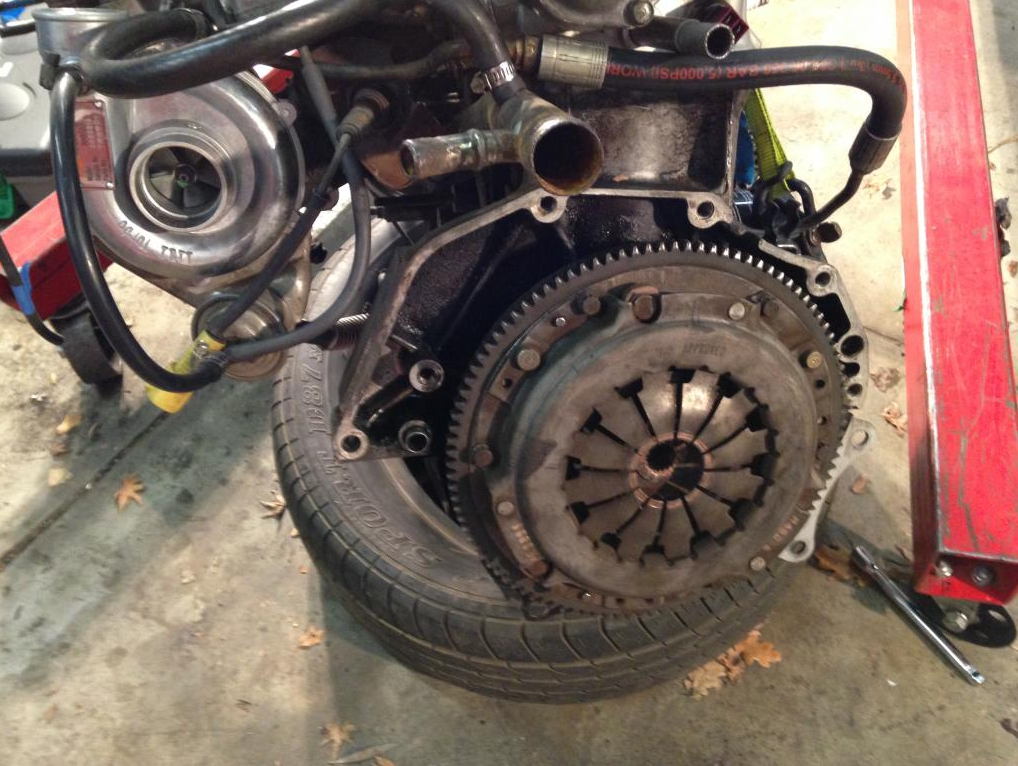
Fresh rear main seal we were now able to seat properly.
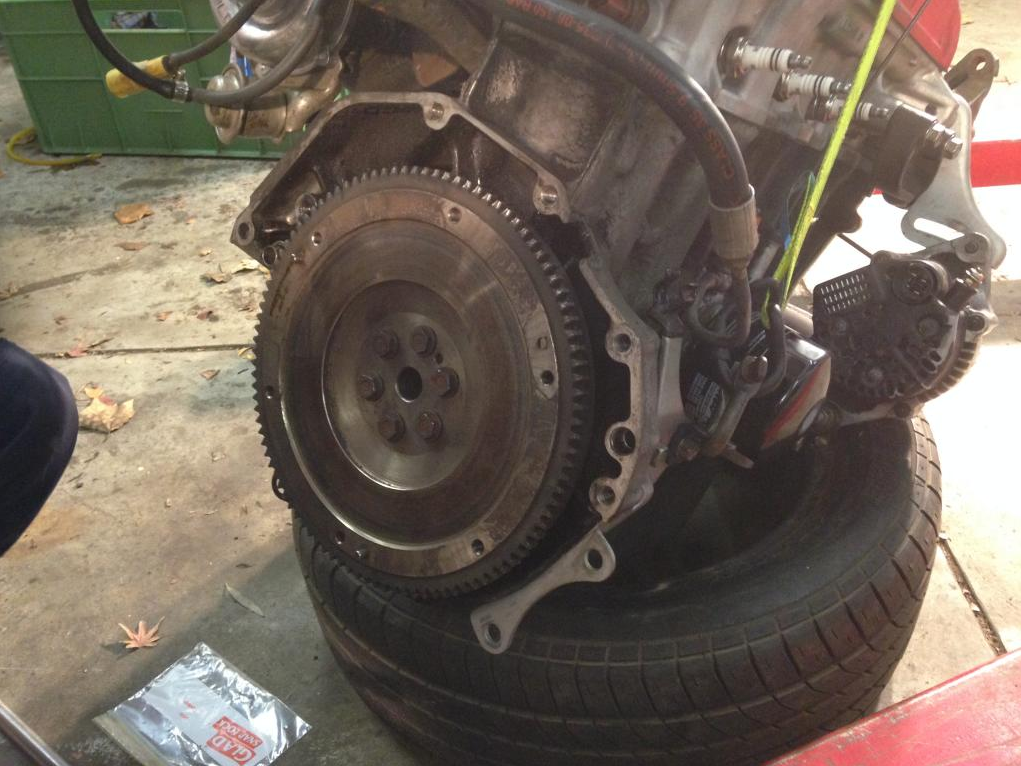
Flywheel torqued to the crank. The flywheel has markings for TDC and 20 degrees advance for setting initial ignition timing.
Crank angle sensor installed and distributor fitted now that we had timing markings to use.
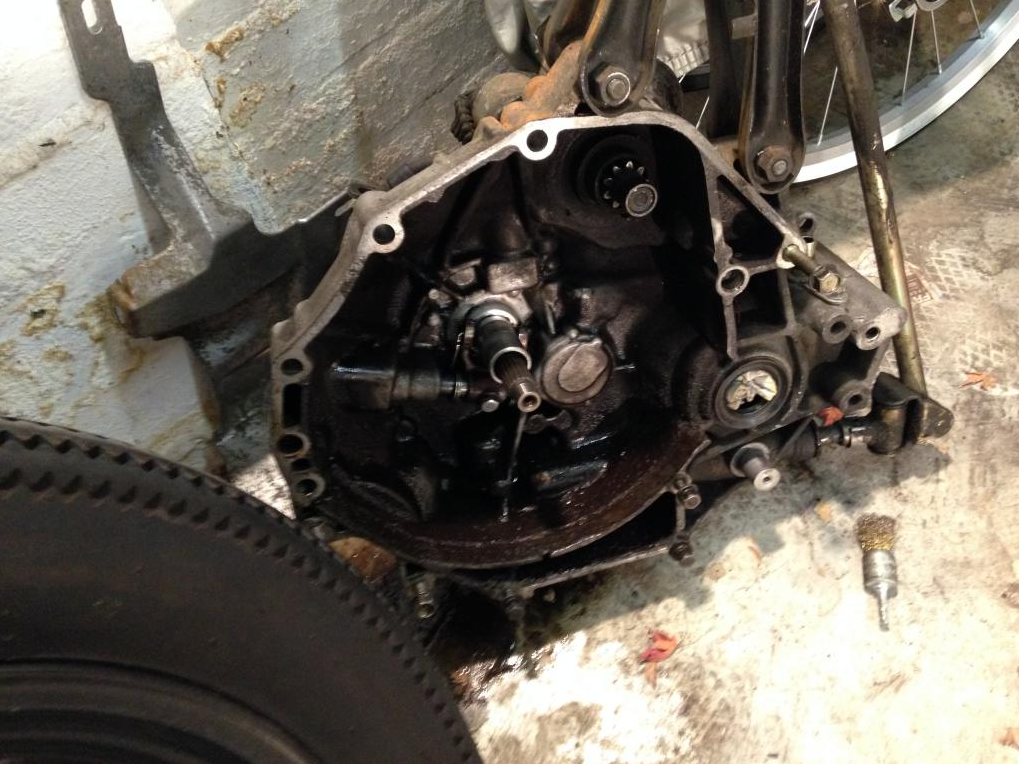
Bit of gearbox cleanup. We did buy a new throwout bearing, but it turned out to be the wrong one. Thankfully our standard one was fine.
Clutch and pressure plate installed.

Gearbox bolted up.
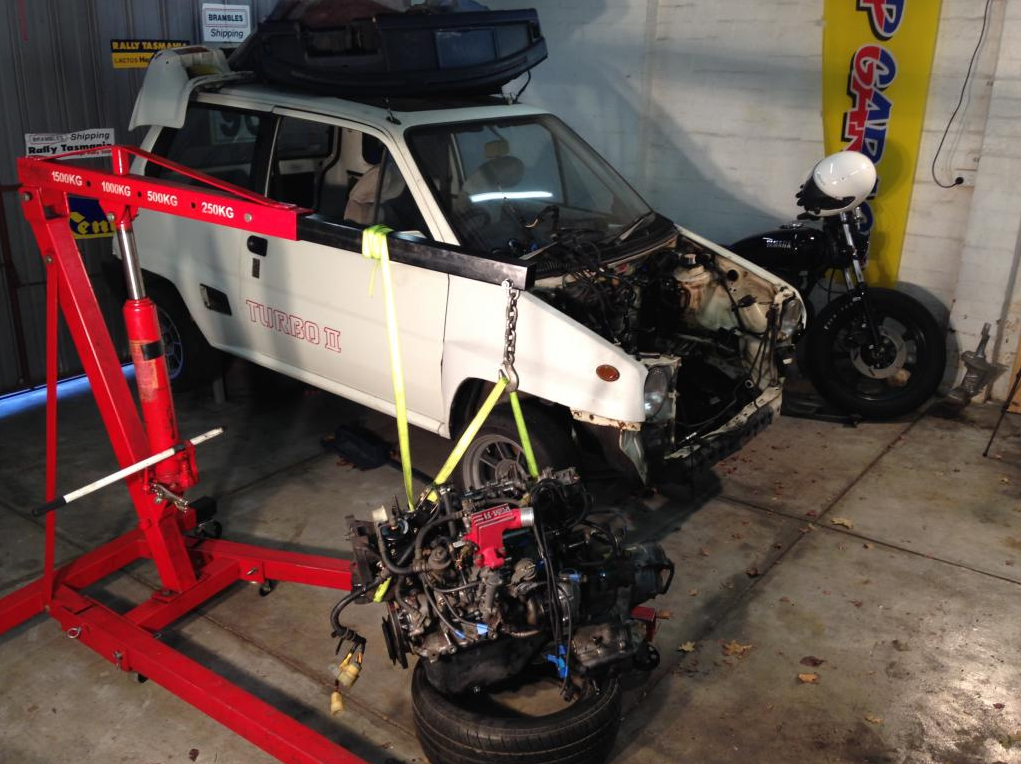
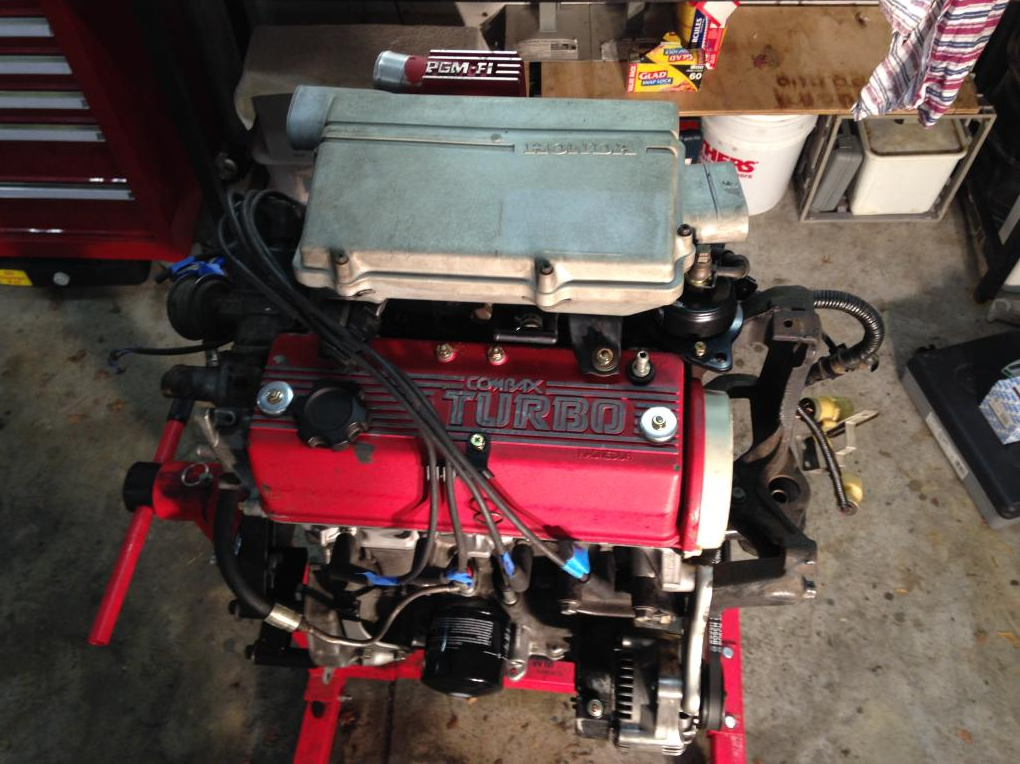
Radiator support removed, engine ready to go.
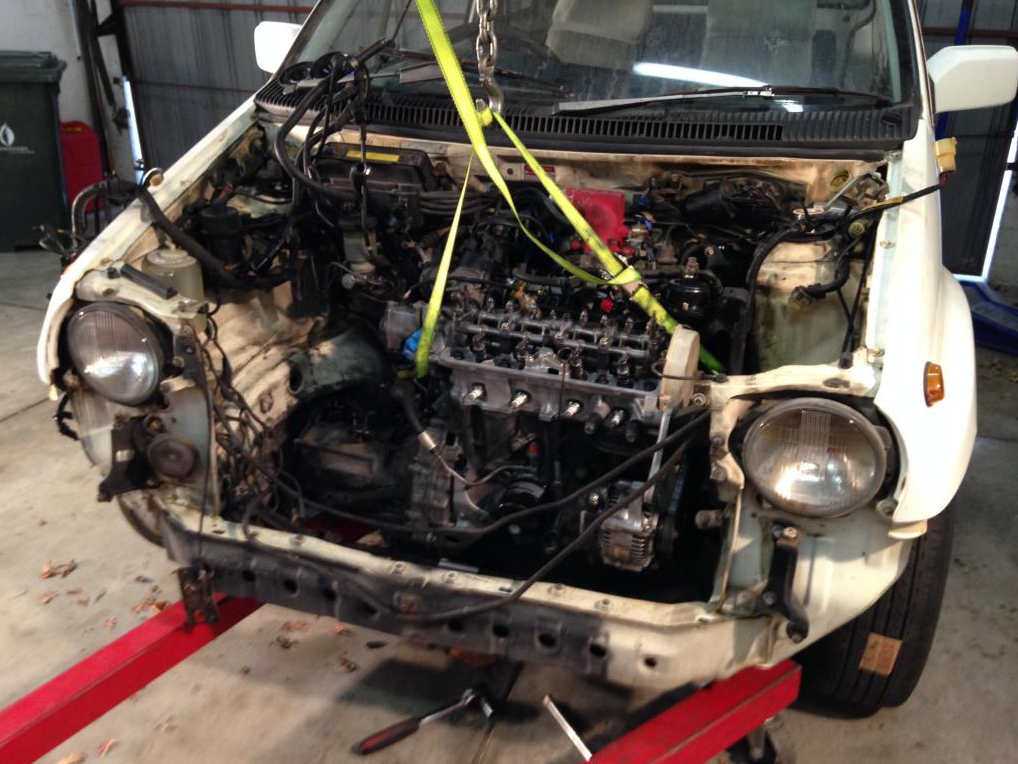
It took a bit of fiddling to get the motor sitting nicely over the crossmember but here it is.
The engine had been out not long before we bought the car, so assembly was a little more than the opposite of disassembly but it’s all come together really well.
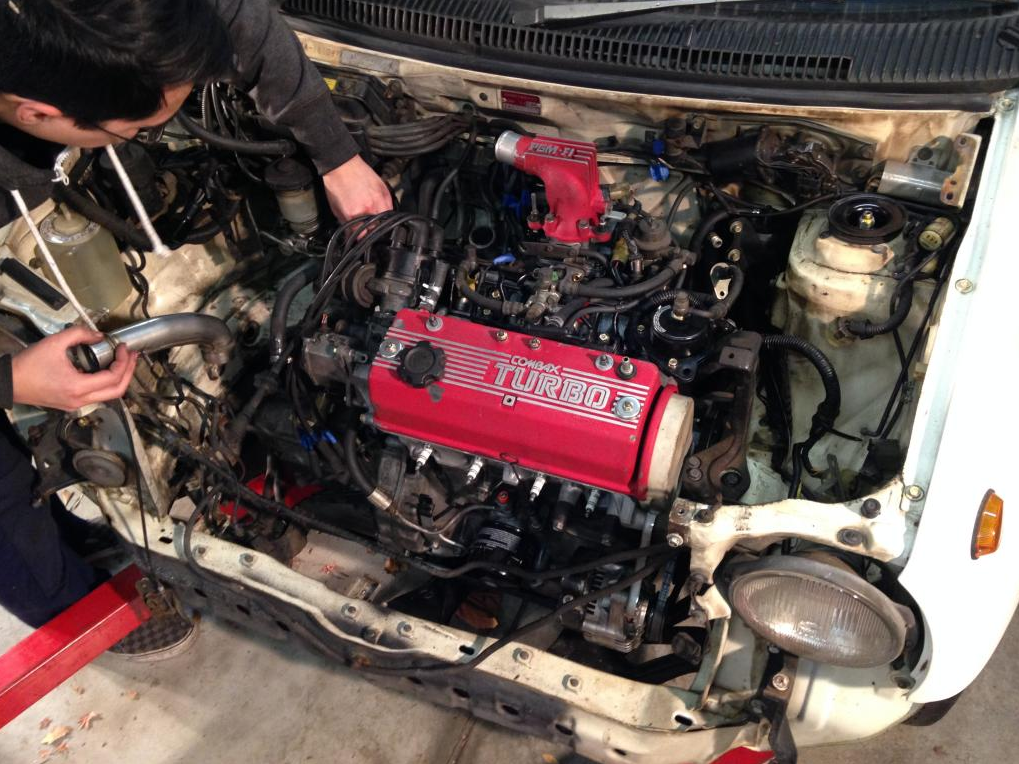
All wiring is connected, all coolant plumbing is sorted except for the radiator hoses which are getting a bath first.
Today we worked out how we’re going to mount the new Walbro fuel pump, replaced the dodgy bonnet latch and cable, finished routing all vacuum lines (there are LOTS) and a few other odds and ends. We need to buy a fitting and fuel hose to fit the pump, then we can get that installed, put the tank back in and drop the car down.
Original: Build Threads