Project 510: Short Shifting
It’s been a hell of a long time since any real work was done to Project 510. In fact, looking back at the archives, it’s been around 2 and a half years since I ripped it apart and fitted my FMIC and supporting mods! In that time I have driven the car plenty of times (including a track day and skid pan), which is what it’s built for, so I can’t complain about that. Let’s not forget I also built a garage recently, so that counts for something, too! (I should probably also mention at this point that my wife gave birth to our first child at the end of March)
Let’s get back to business, though. Ever since fitting the RB20 gearbox, I was never really happy with the feel of the shift. The whole point of the swap was to attain a more modern gearbox that would allow me to shift at high rpm without the crunching that aging FJ20 gearboxes are known for. While I was happy to be able to select gears easily and freely, it just didn’t feel right, it was notchy, and not in a good way. I’m talking about driver enjoyment here, not flat out racing or shaving milliseconds off shifting time. Another aspect I didn’t like was that the new shifter position was much lower than before. I really wanted to have the gearknob higher up, closer to the steering wheel, it almost felt like I was leaning down into the middle of the car when changing gears. I had thought about buying a threaded extension, but while that would bring the shifter closer to me, it would also increase the length of the throw. How could I counter-act this? With a short shift kit.
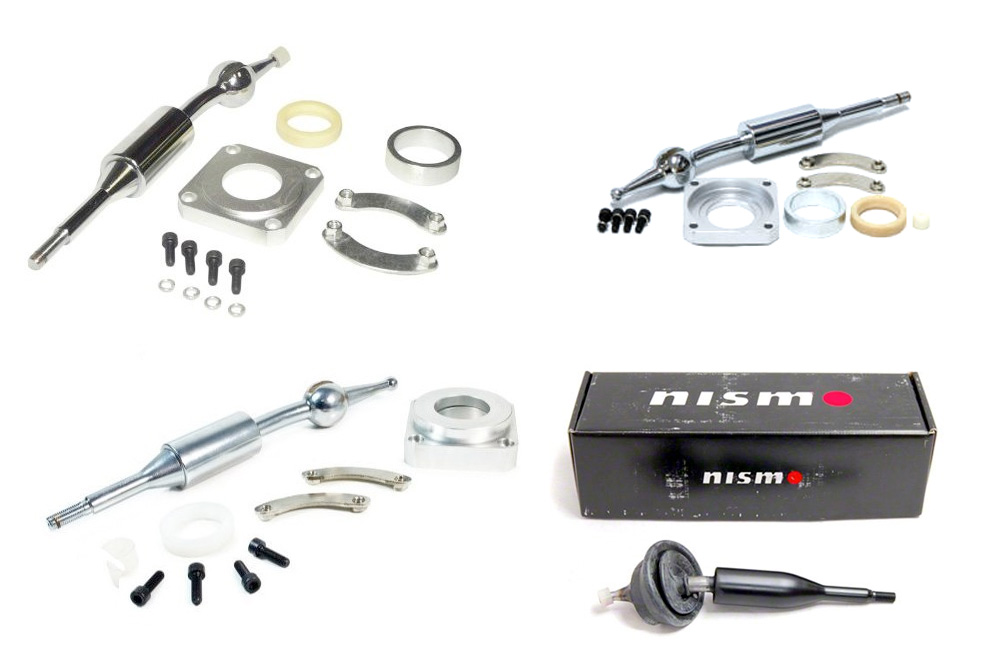
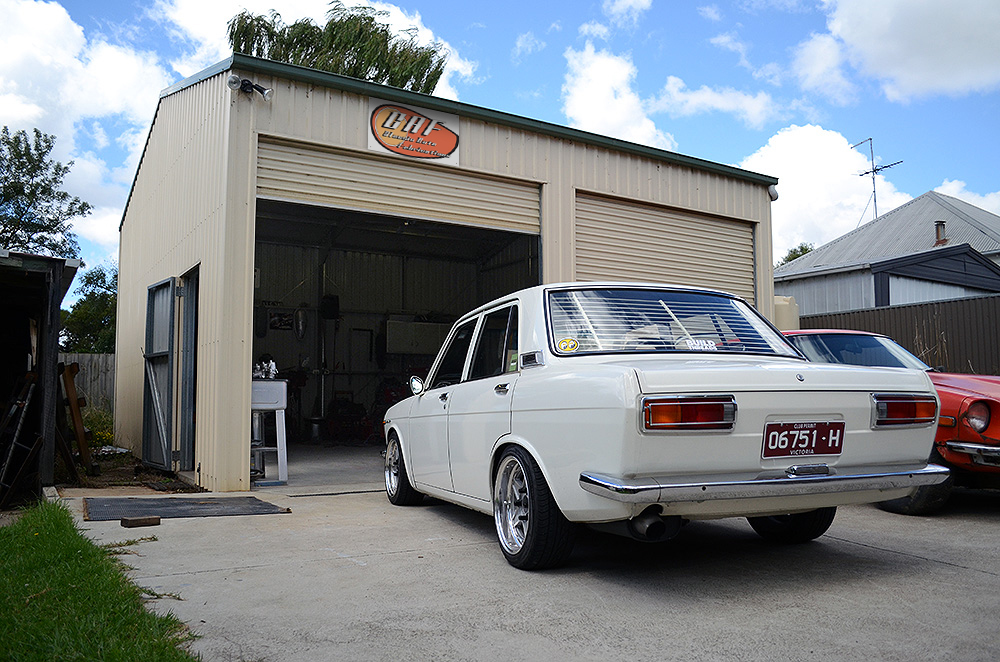
Herein lies a whole new can of worms! Do you spend hundreds of dollars on a Japanese brand name item, or risk it on a cheap knock-off from eBay? I sought the guidance of my fellow enthusiasts in the Build Threads Communal Garage (have you joined yet?) which fired up a discussion on the merits of short shifters. While the discussion went on, I received a private message from Lachlan from Classic Auto Fabrications, a very nice chap I already happened to know through Datsun circles. Lachlan has a lot of experience not only restoring classic cars of all makes, but building big-dollar Nissan/Datsun gearboxes. He offered to make me a custom short shifter if I was willing to make the long trek to his home shop and be a part of the process, to which I naturally obliged.
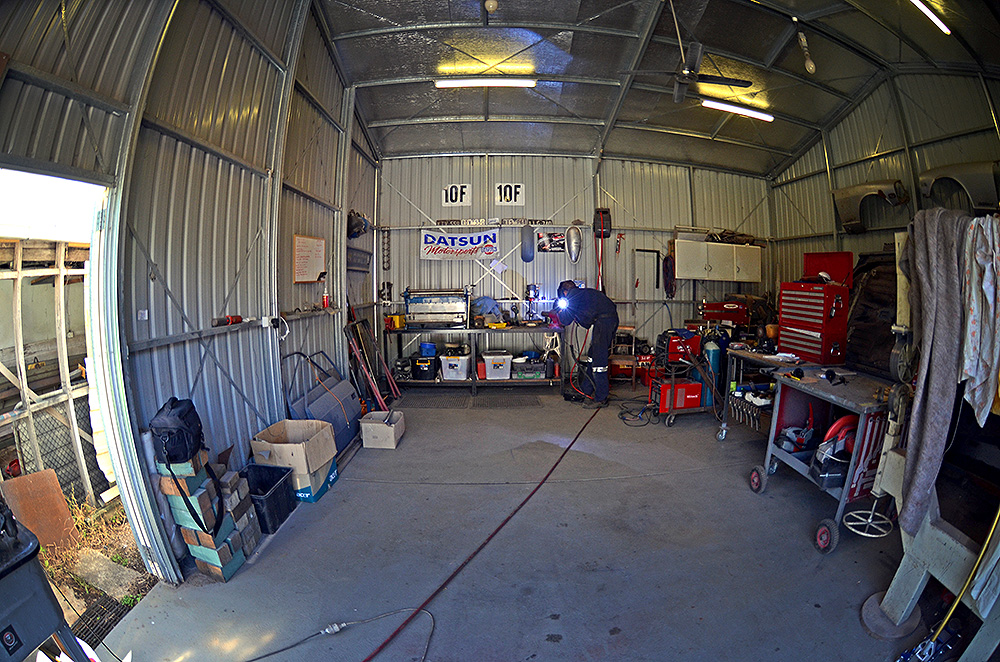
It took us a few months of back-and-forth messages, but we finally settled on a date one early Sunday morning, and after 1.5hrs of driving, I arrived at my destination.
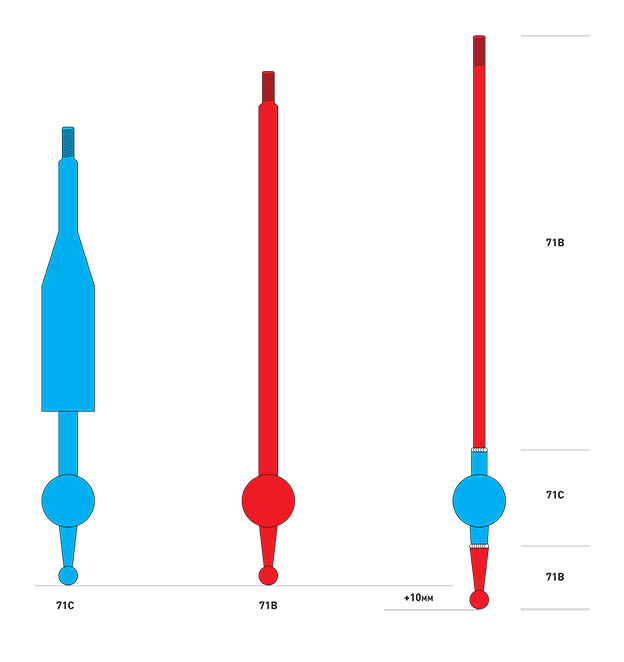
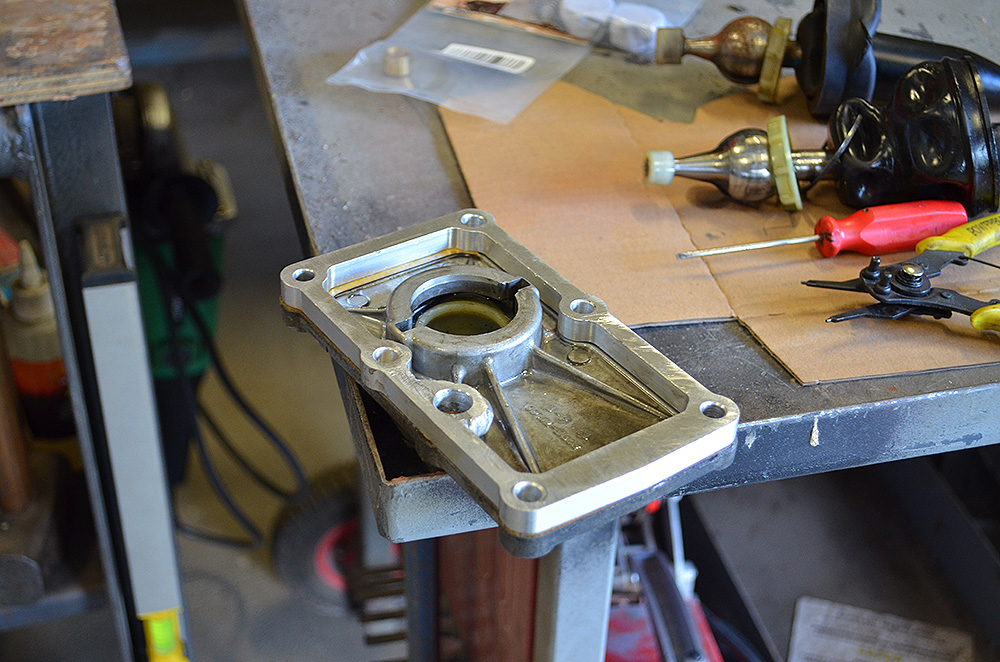
The plan was to fit a 10mm CNC machined spacer plate to the top of my gearbox, and then extend my shifter (beneath the pivot) by a matching 10mm. This will give me a shifter throw reduction of 30%. Something else I was keen on doing was getting rid of the bulky vibration isolator that is present on all modern Nissan shifters, and return to the shape, length and thread pitch of the older and thinner Datsun L-series shifters. Lachlan said this would be no problem, to which I was overjoyed to hear, and he could use a longer doner which means I wouldn’t have to use an extension. I never really liked the look of the modern shifter in the car, and longed for the vintage style of my old FJ unit.
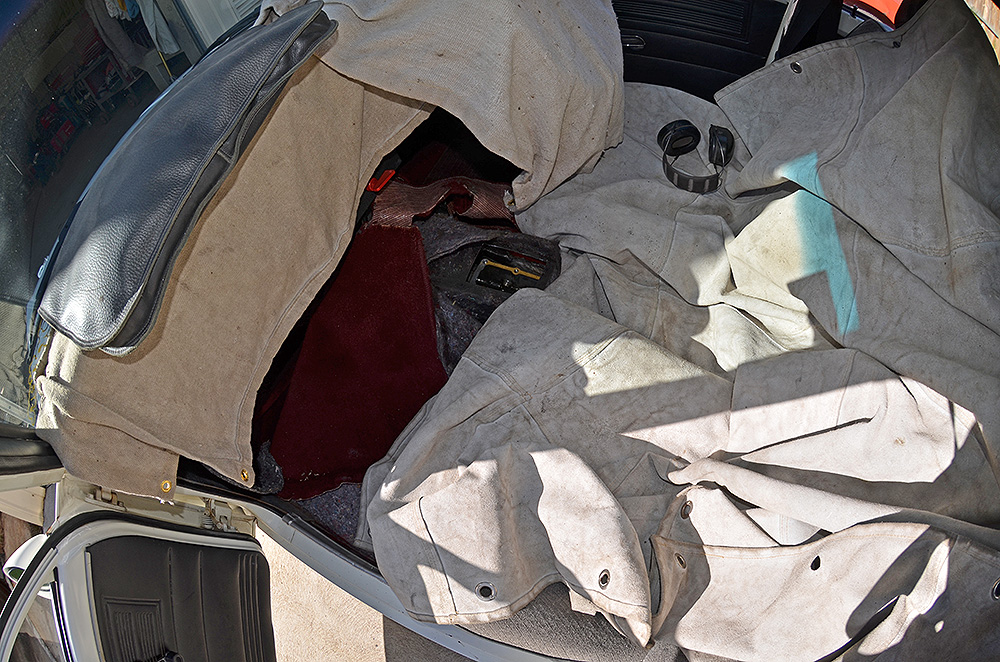
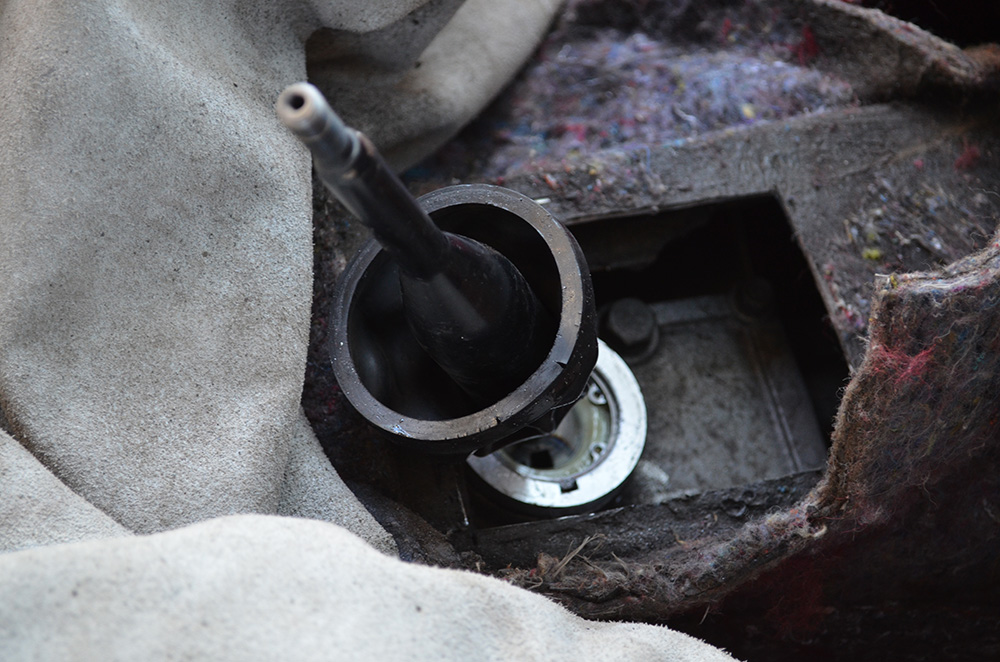
Unfortunately, as the story usually goes with cars, what was planned to be a couple of hours of fettling turned into half a day of overcoming obstacles. Firstly, there wasn’t enough room to get to the bolts that hold the shifter plate to the gearbox, so we had to cut a larger access hole in the tunnel, which meant covering the interior with welding blankets.
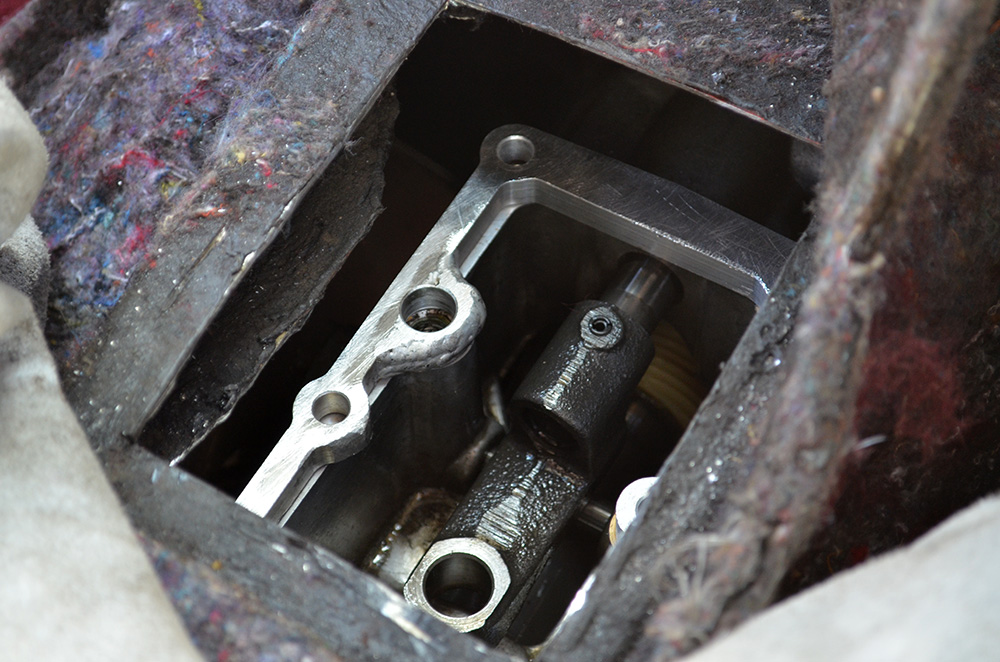
Secondly, the bolts were way too tight and proved difficult to remove. Thirdly, my gearbox had a strange bolt pattern, with one out of the six bolts on the shifter plate being oversized, which didn’t match the pre-machined 10mm spacer plate that Lachlan had ready for me! Turns out my gearbox must be a very early RB20 model. Alas, we soldiered on, and once we got my shifter removed the TIG was fired up to make some adjustments.
The location where the oddly large bolt went through the spacer plate was built up with welding rod, filed down flat, and then drilled to accept said bolt. Finally, after confirming the plate went where it was supposed to with a test-fit, we were back on track and could move onto modifying the shifter.
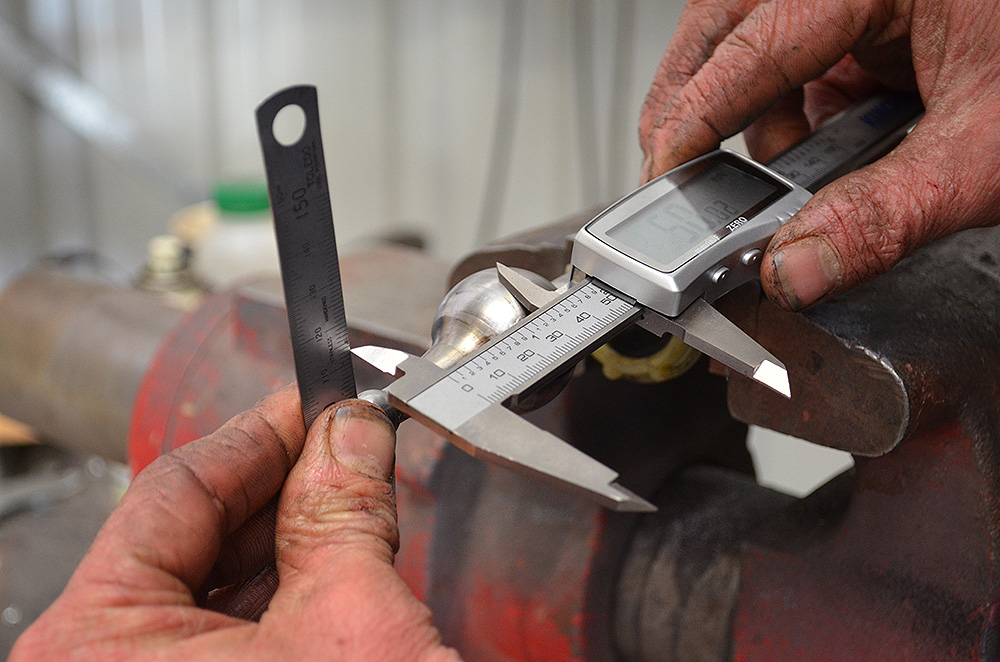
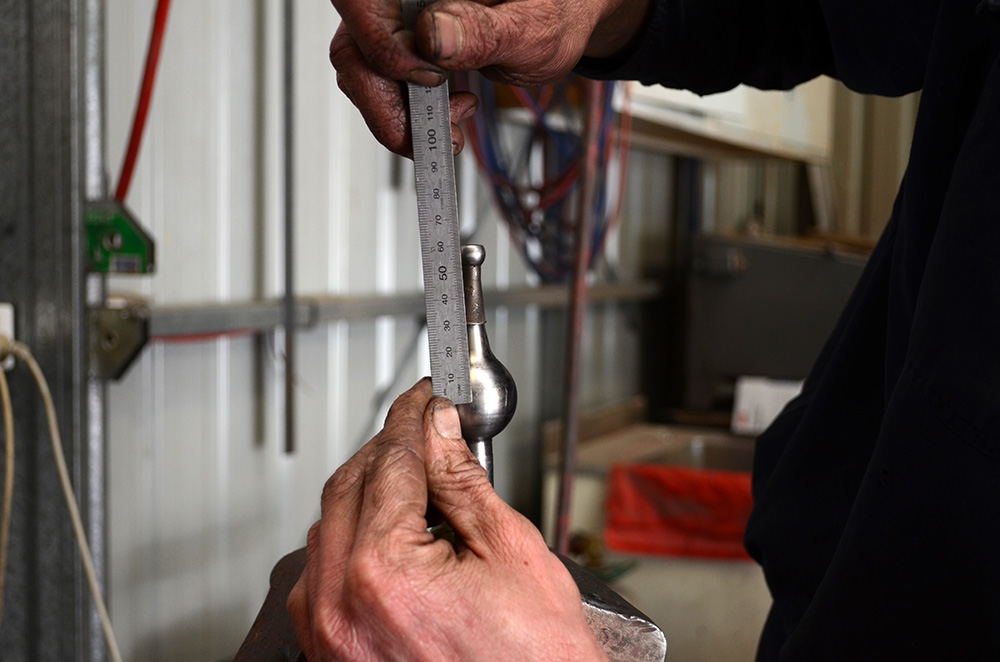
This is where it started to get interesting, and maths (not my strong suite) came into the equation. 50mm was the magic number. That referred to the distance from the center point of the pivot ball to the bottom edge of the shifter. Since we used a 10mm spacer plate on the gearbox, that measurement had to increase to 60mm for everything to work in harmony.
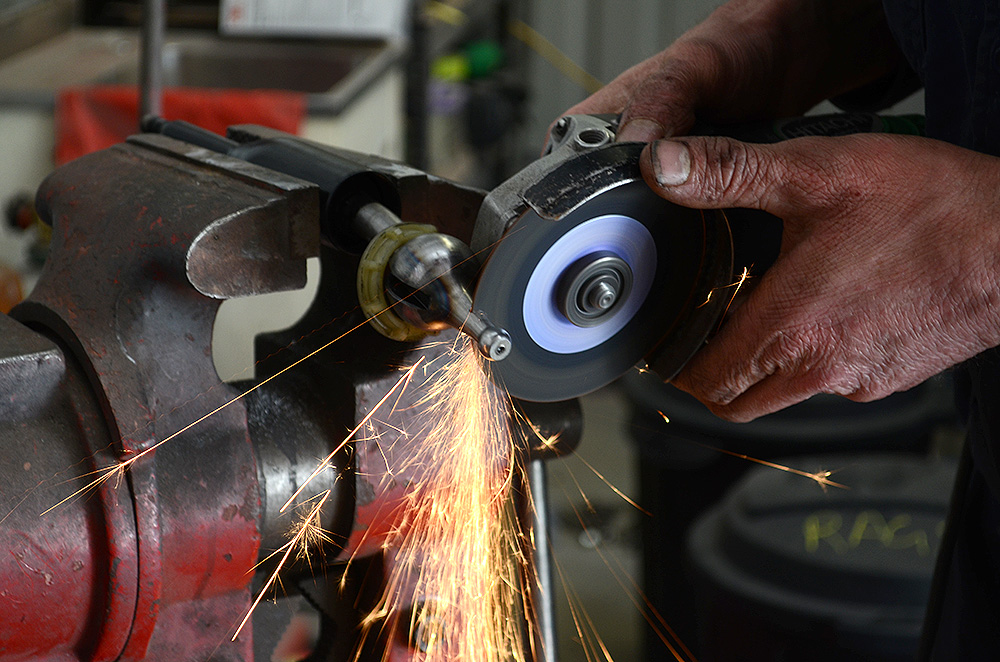
First, a line was scribed around the lower section of the shifter to mark a clean cut line.
Cue the quintessential sparks.
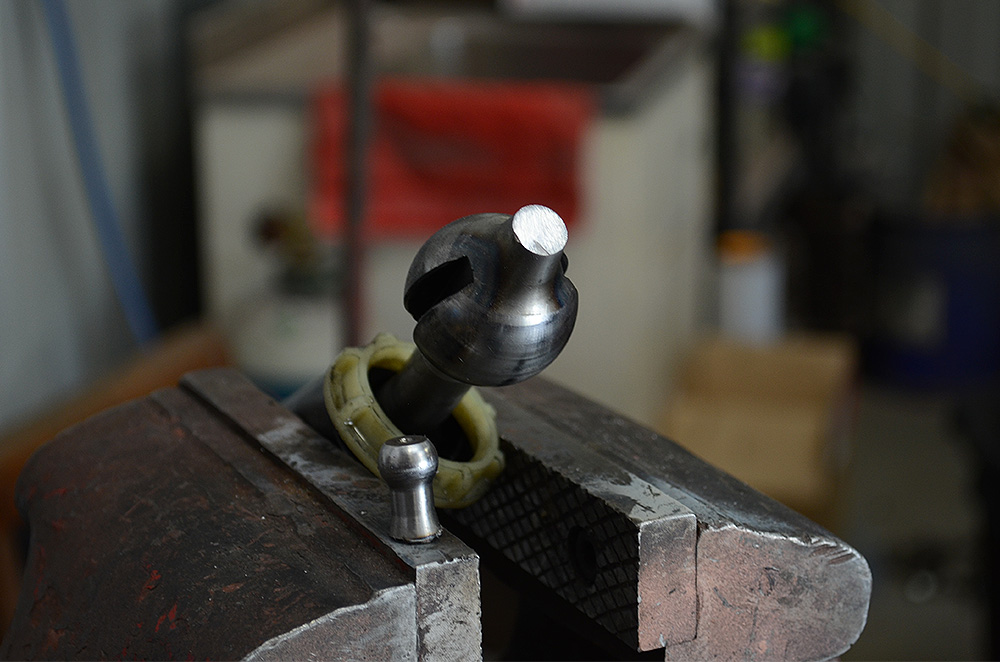
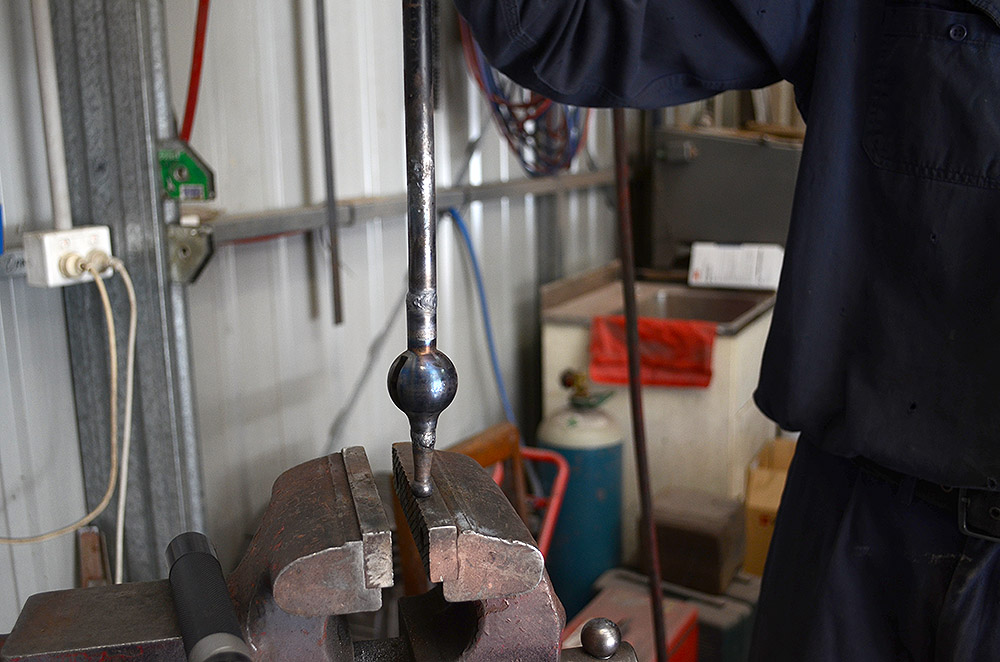
The bottom of the shifter after it’s haircut.
The angle grinder was also taken to the bottom of a sacrificial 71B shifter, but the piece cut 10mm longer. When you offer it up to my shifter, we get the magical 60mm number we were looking for.
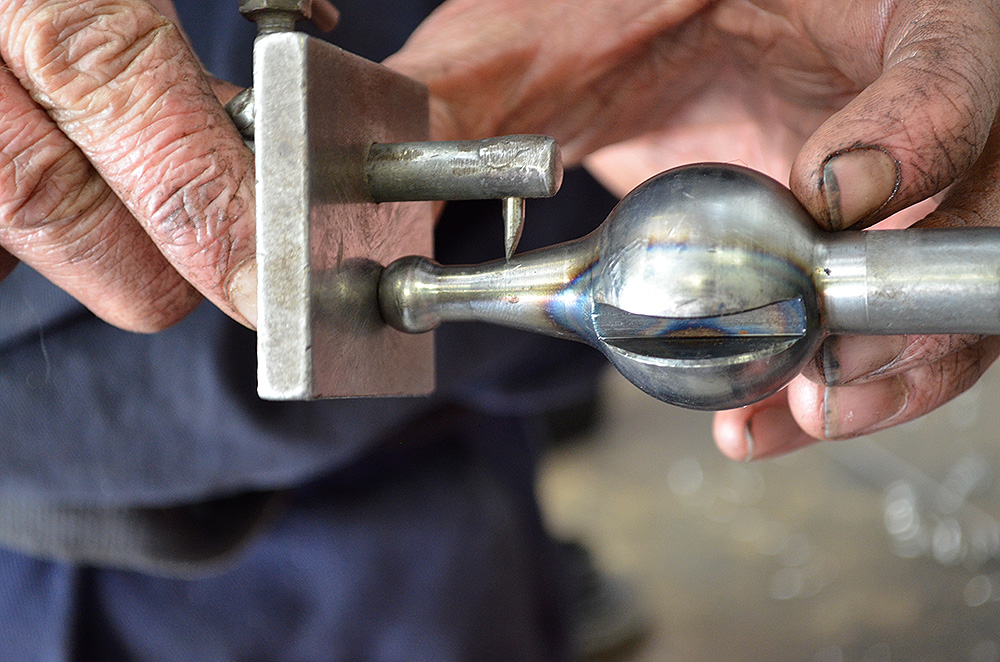
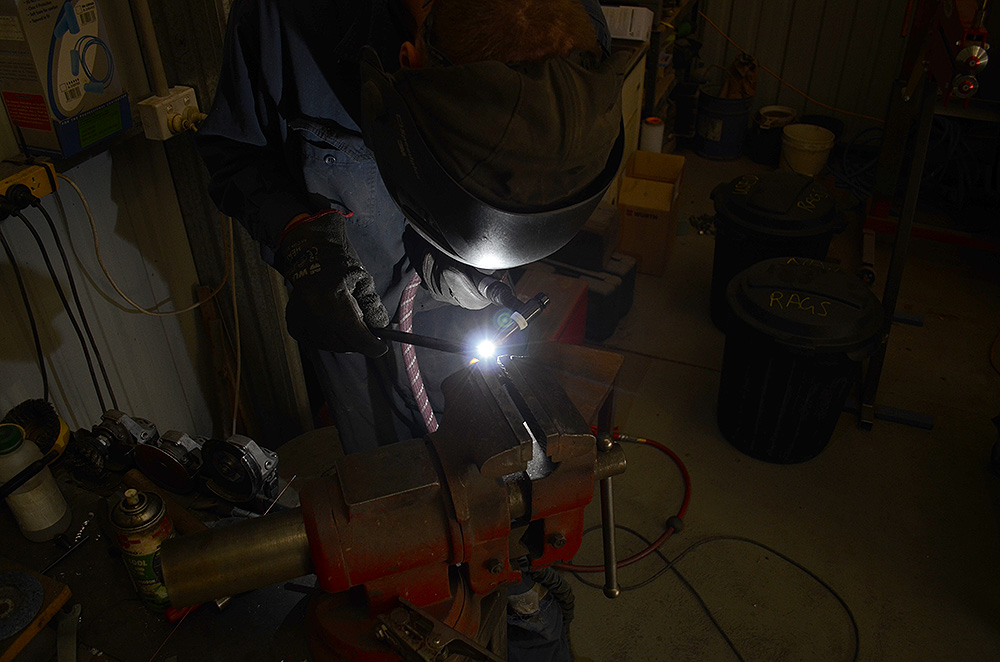
After tacking it into place, Lachlan continually checks the alignment by eye, rotating the shifter at the same time. The tacks were adjusted, broken, and re-tacked many times until he was happy with it. Then final welding could take place.
To ensure the shifter wouldn’t snap off in my hand during enthusiastic shifting, the two adjoining pieces were channeled into a “V” to allow full welding penetration.
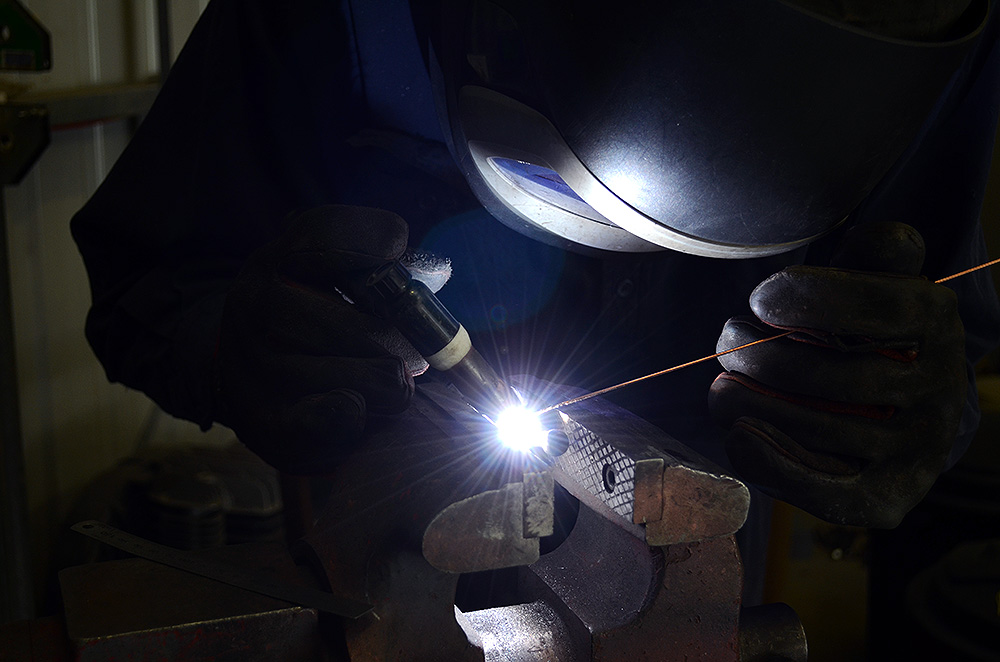
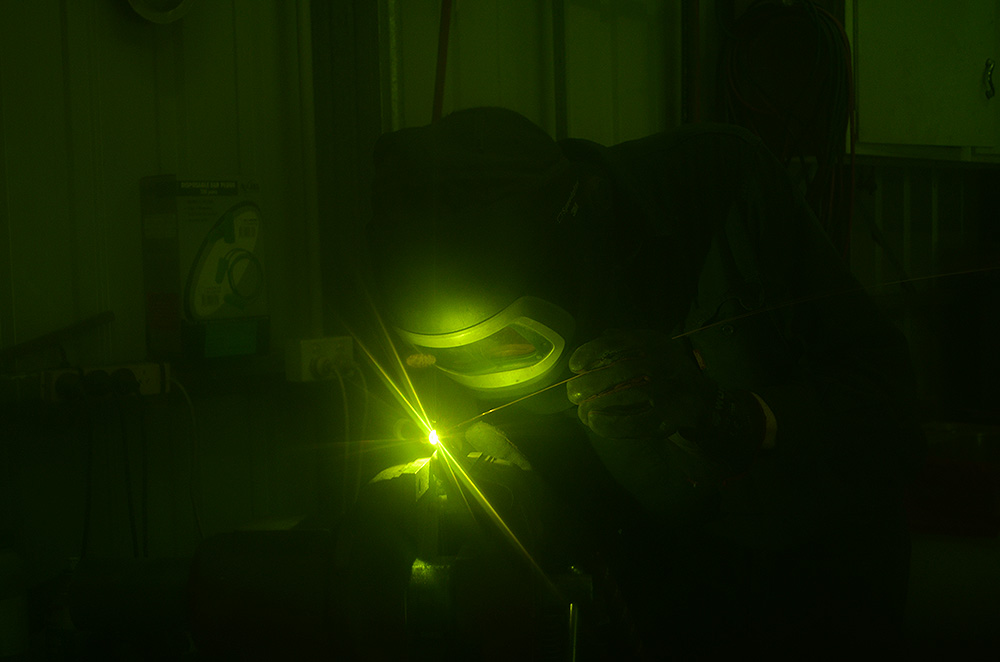
While Lachlan begun fusing metal with his TIG, I fired off some shots. This was my first time shooting someone whilst welding, and I quite enjoyed the challenge.
I even stuck the camera behind the welding helmet, and after countless failures, managed to get this shot!
The end result, a proper weld that will stand the test of time. That’s the bottom section done, which takes care of the length of the shift throw, but now we move onto the upper section that will be visible in the car.
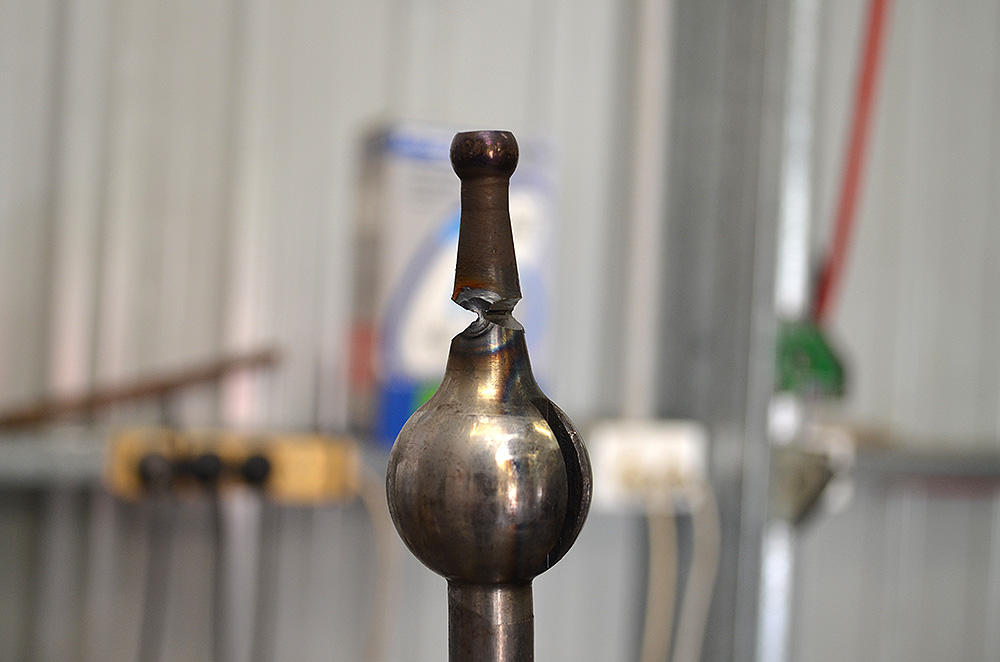
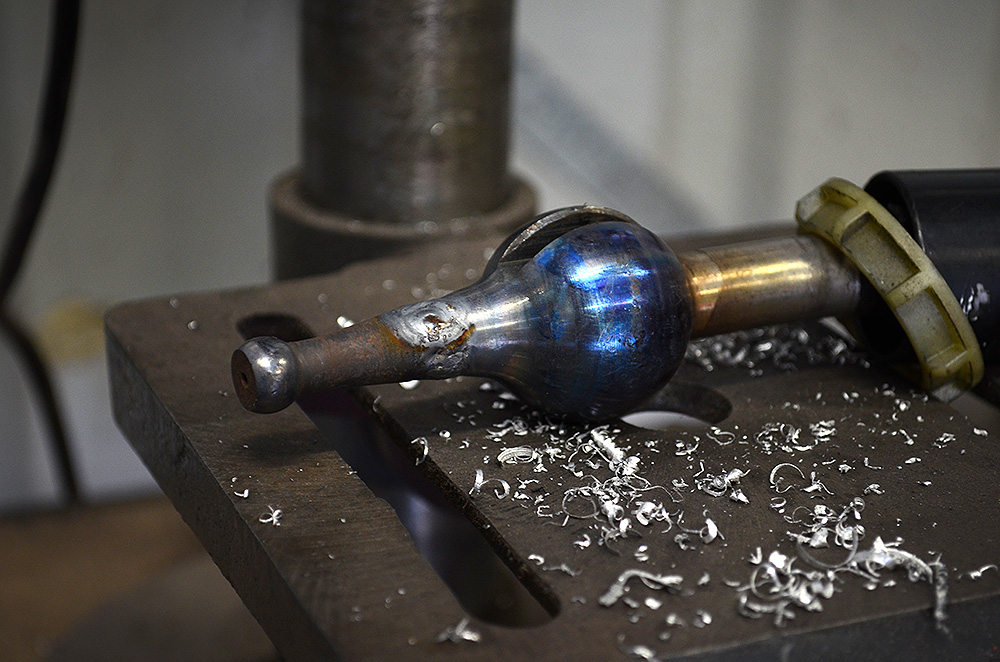
The 71B shifter that sacrificed it’s bottom section actually had a curved stick, but mine needed to be straight. Instead of cutting up yet another shifter, we were able to use the top section of the same one, by bending it straight using the heat of the TIG. Finally, the now straightened top section was cut off and welded to the frankenstein lower section we had created earlier.
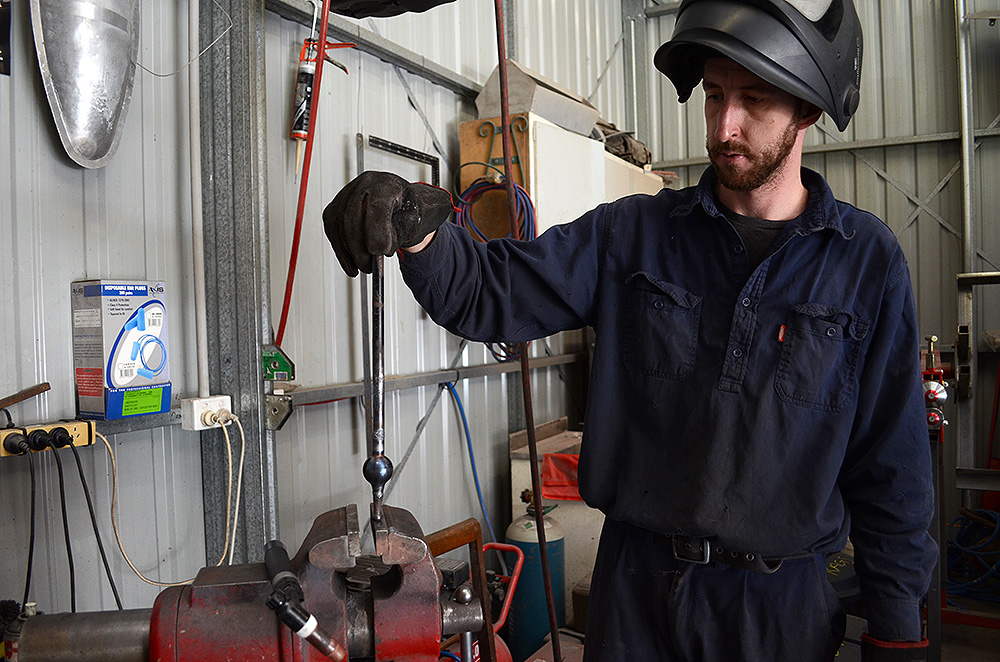
Lachlan standing back to admire the finished product.
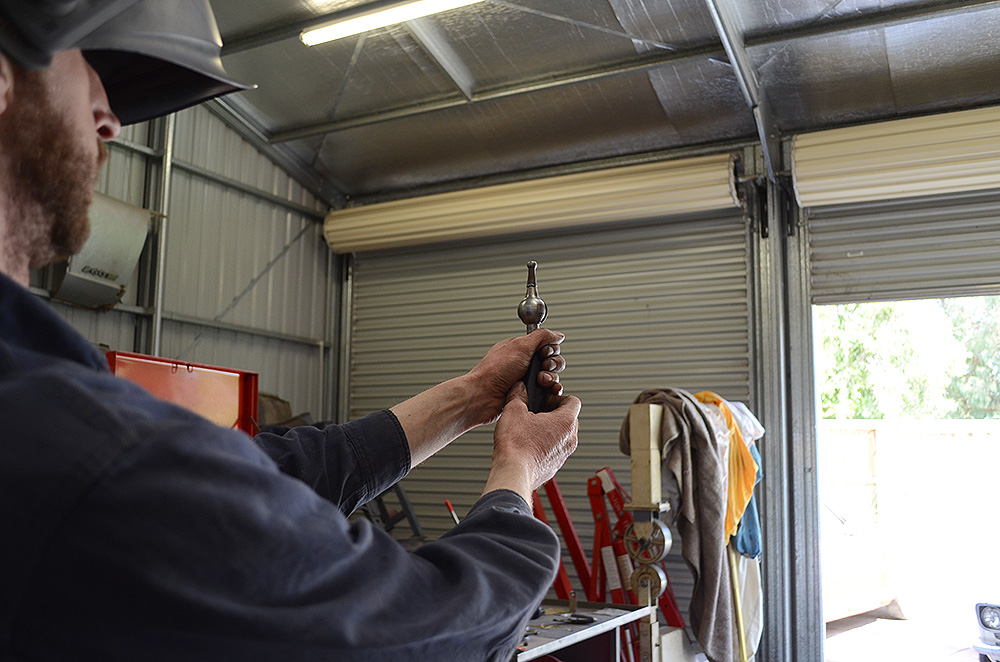
A close-up of Lachlan’s creation. Two shifters, cut into three parts, and welded back together.
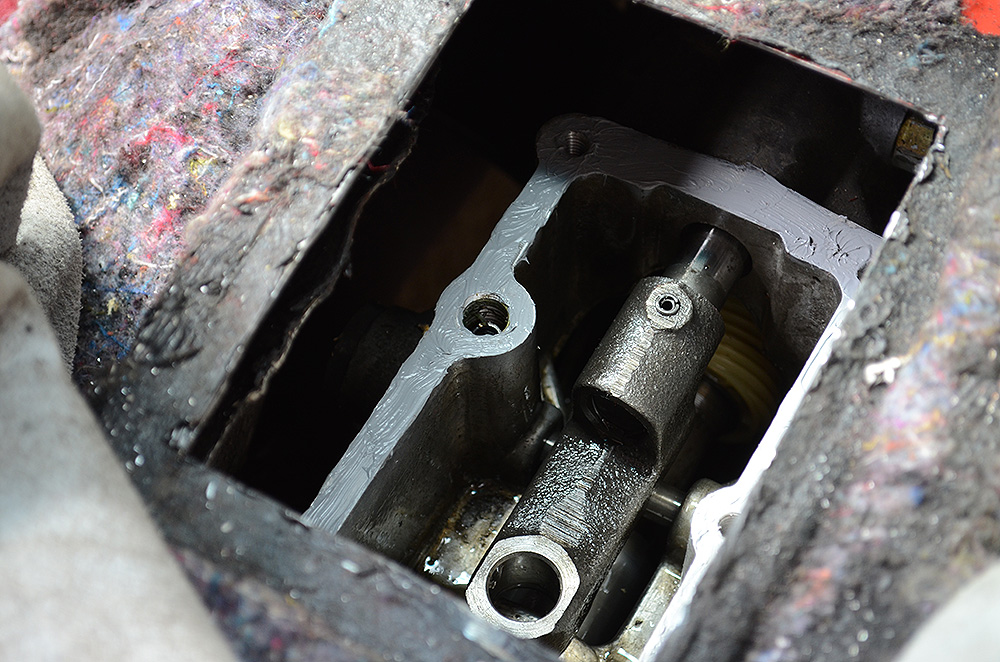
All we needed to do now was fit everything back to the car. Some Three Bond sealant was spread over the gearbox mounting flange to ensure a good seal to the spacer plate.
The finishing touch before the shifter made it’s way back into the car was a solid bushing from GKtech.
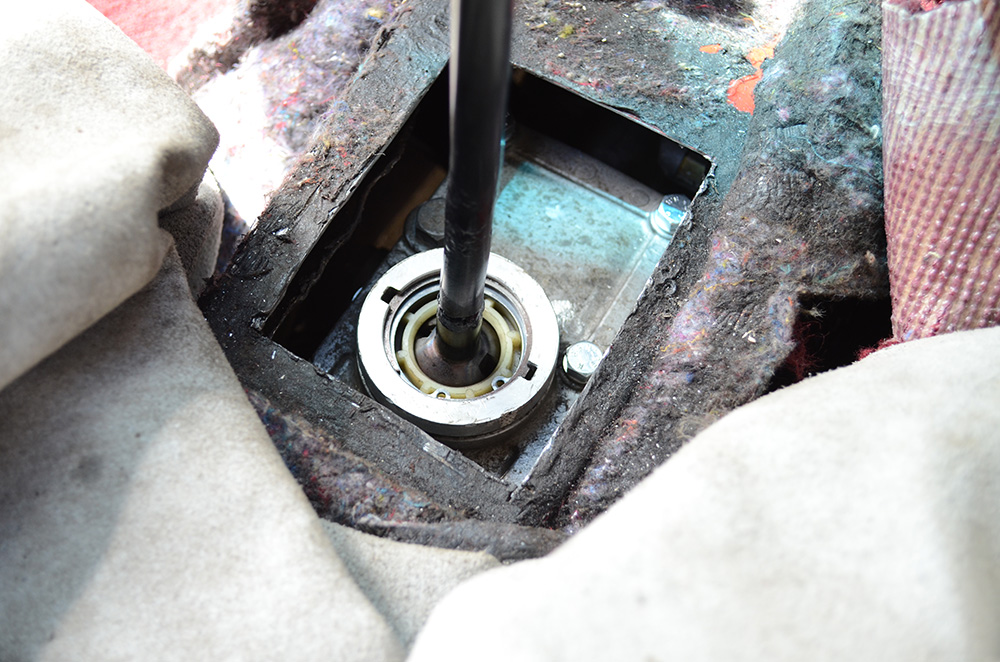
Spacer plate, cover, and shifter all installed!
Once it was all bolted back together, I couldn’t wait to run through the gears while the car sat stationary in Lachlan’s driveway. I instantly fell in love with the new shifter feel, it’s exactly what I was looking for. The throw isn’t insanely short, but still noticeably shorter than standard, which is something I was hoping for. I really wanted to ensure there was still enough movement to actually enjoy changing gears, not just a tiny little flick of the wrist. The feel is mechanical and precise, and once I got out on the open road on my way home, I found myself looking for any excuse to change gears even though I was out on a highway (nothing a quick downshift to 3rd gear every now and then couldn’t fix!)
All that’s left to do now is make it look pretty, something I’ll tackle when I get around to my interior re-vamp (hopefully some time this year if all goes to plan). Here is a quick video of me going through the gears to hopefully give you a better idea of how it all works. This is my first foray into video, hopefully there will be more in the future.
I would like to once again thank Lachlan from Classic Auto Fabrications for not only his help on the day, but also because I’m going to bug him for the rest of his life with annoying questions about restoration whenever I plan a new round of changes for the car, haha! But seriously, he went out of his way to do this for me, and opened up his shop on a Sunday morning just for this little job, and for that I am very grateful.
Please like and follow Classic Auto Fabrications.
Original: Build Threads

